Steffany Moonaz, PhD, RYT500
These are a few yoga poses that you may want to try at home. Before beginning any new activity, be sure to consult your doctor. It is important to listen to your body. If you feel any sharp pain, instability or lightheadedness, stop and rest or adjust to a more comfortable position. A well-trained and experienced yoga instructor will be able to offer more individual guidance to adapt the poses for your needs and limitations.
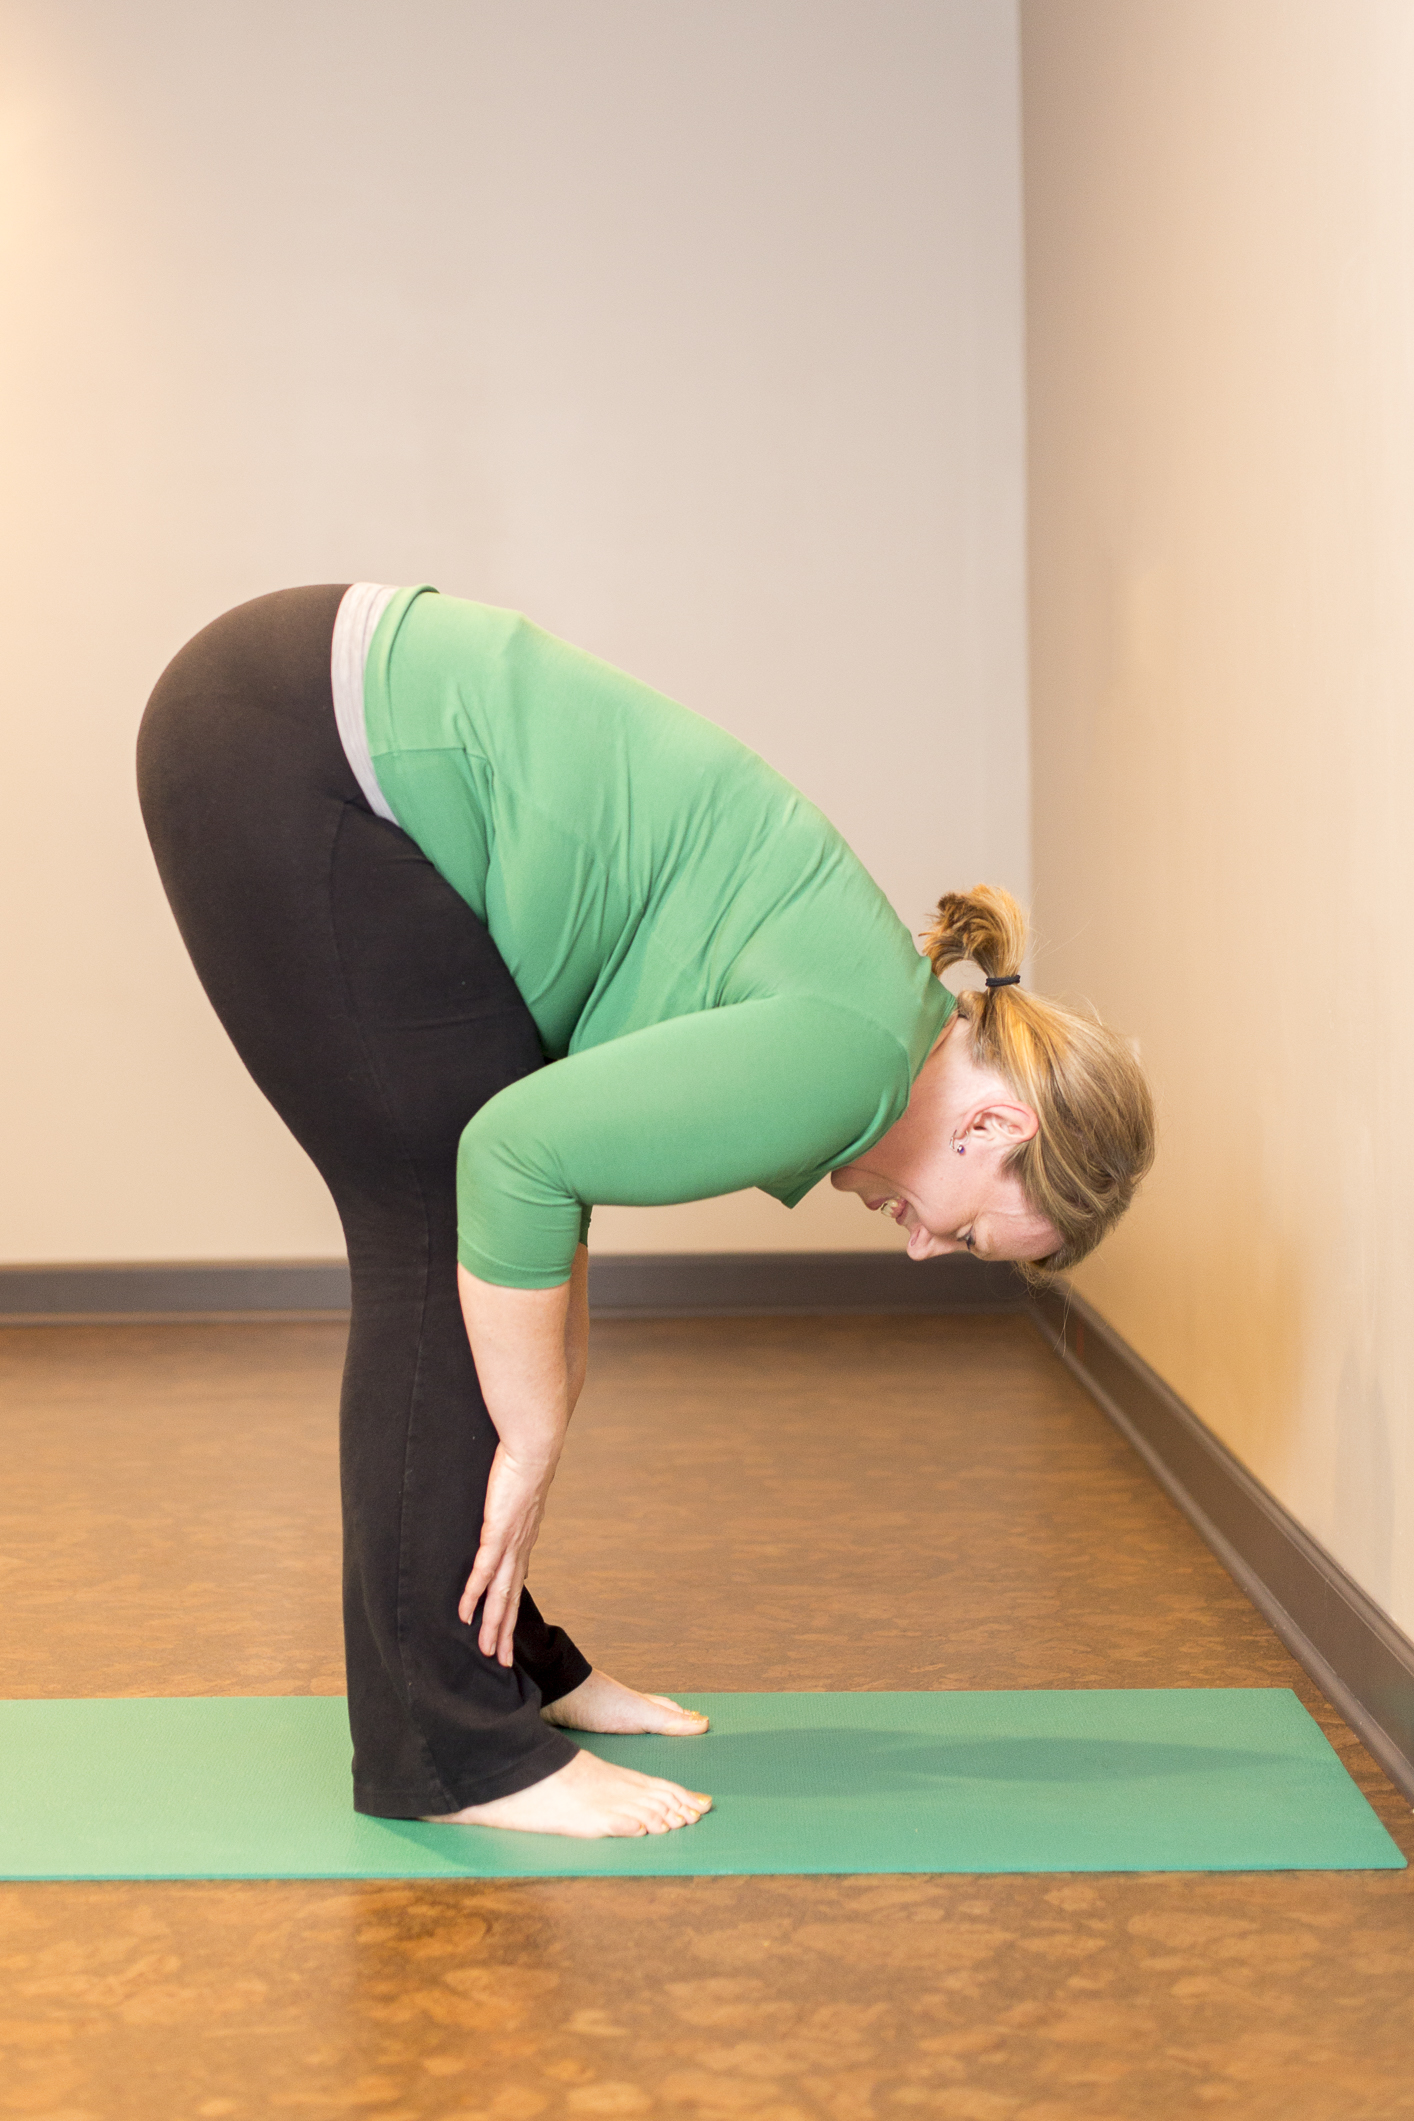
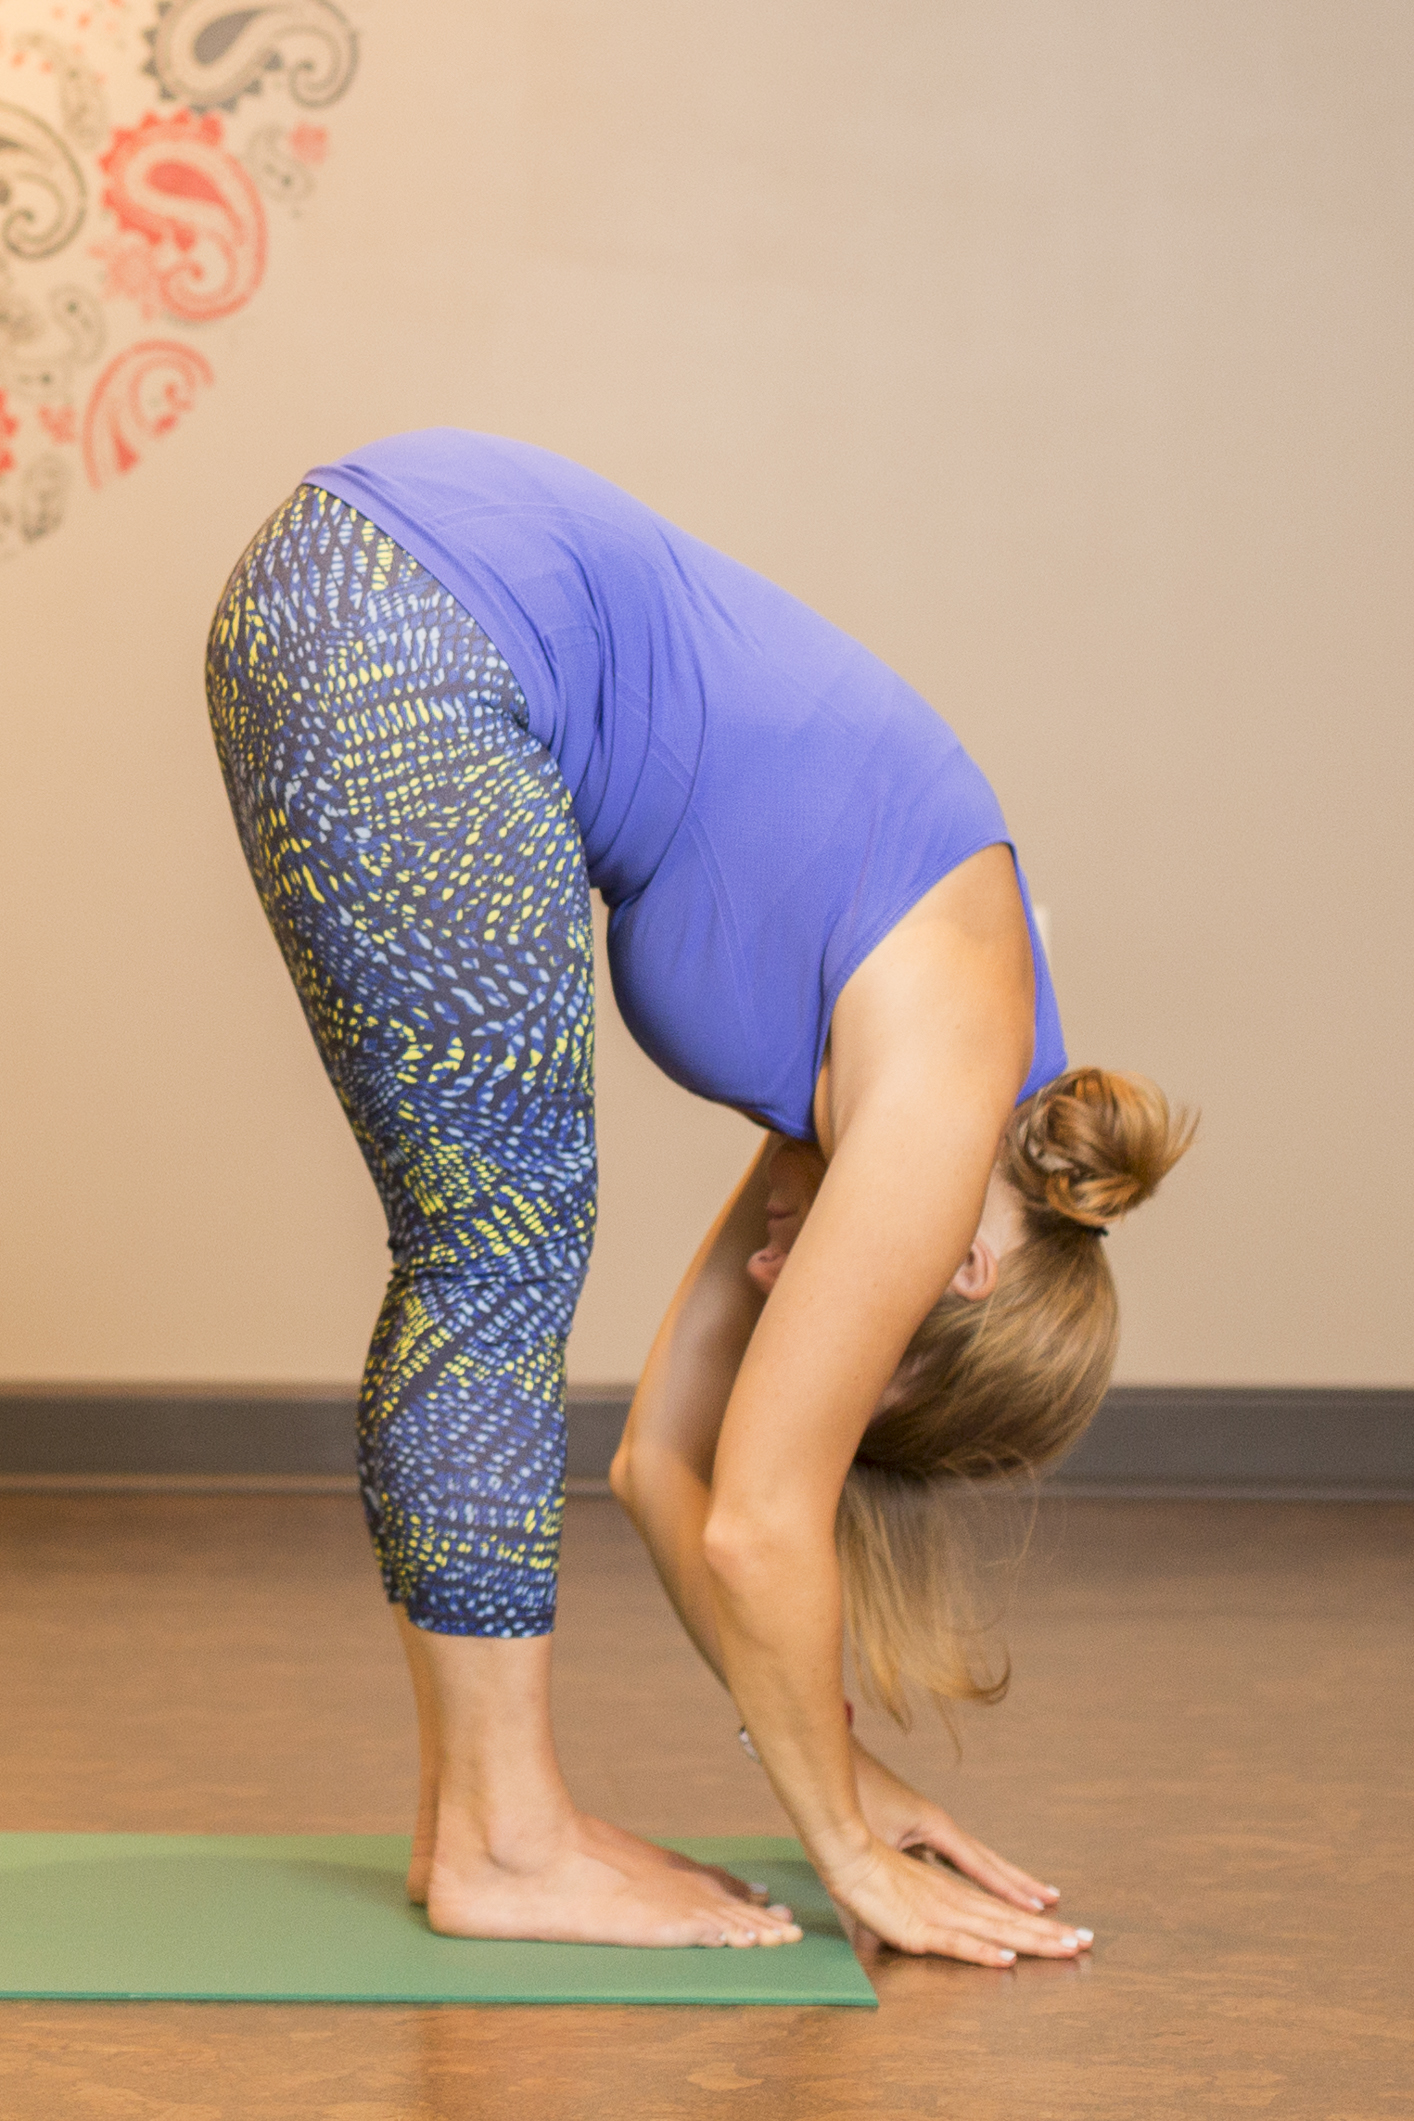
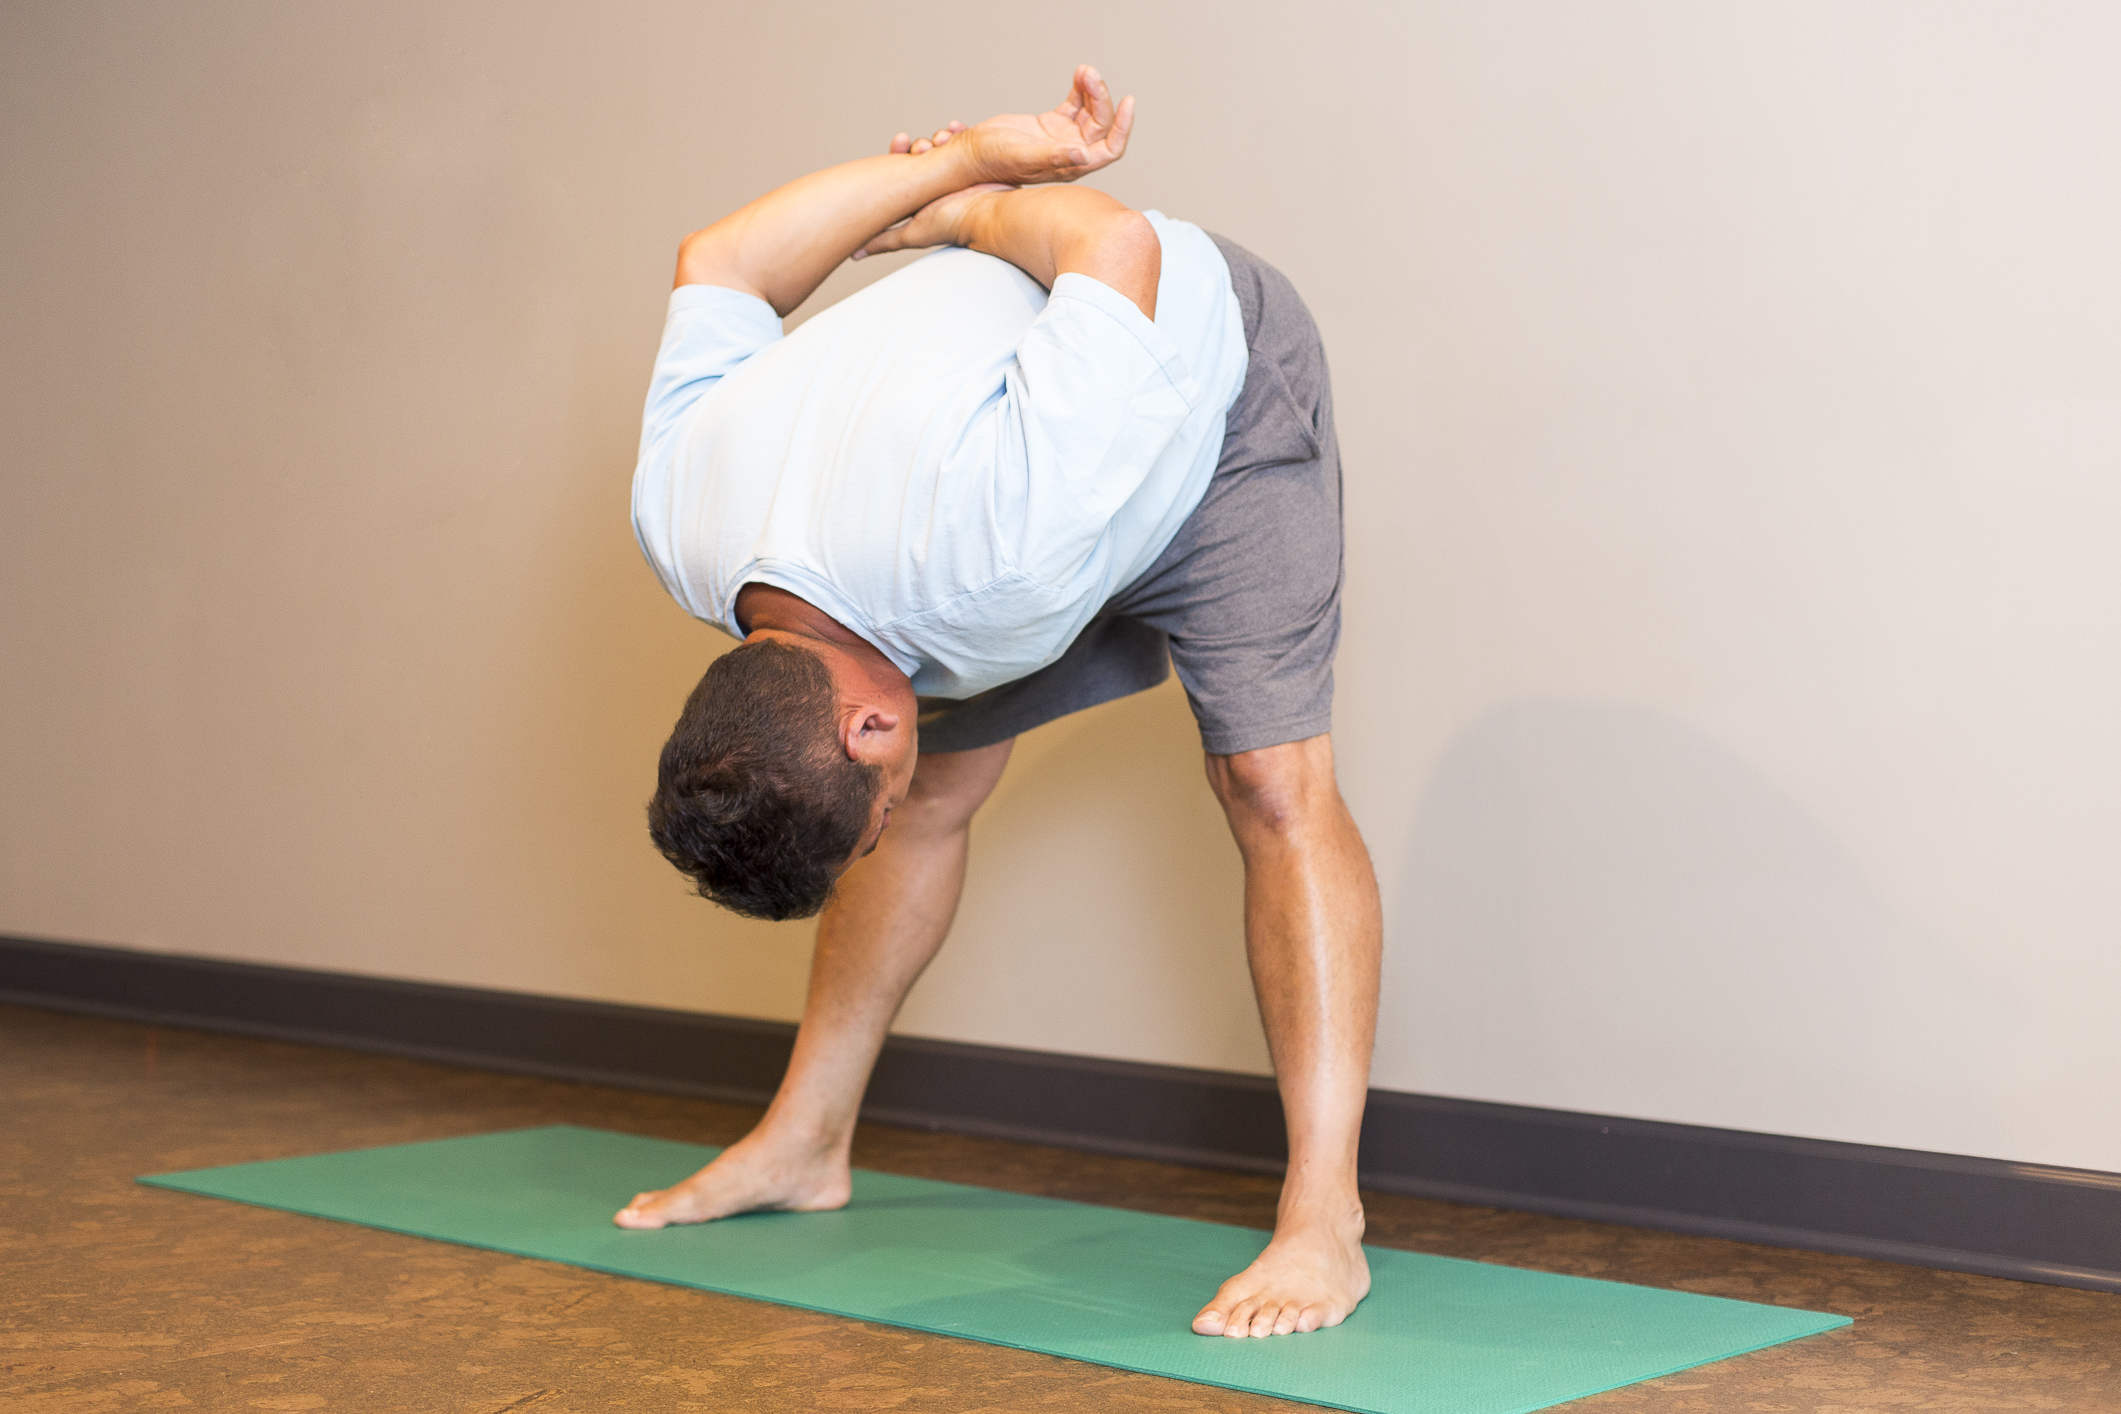
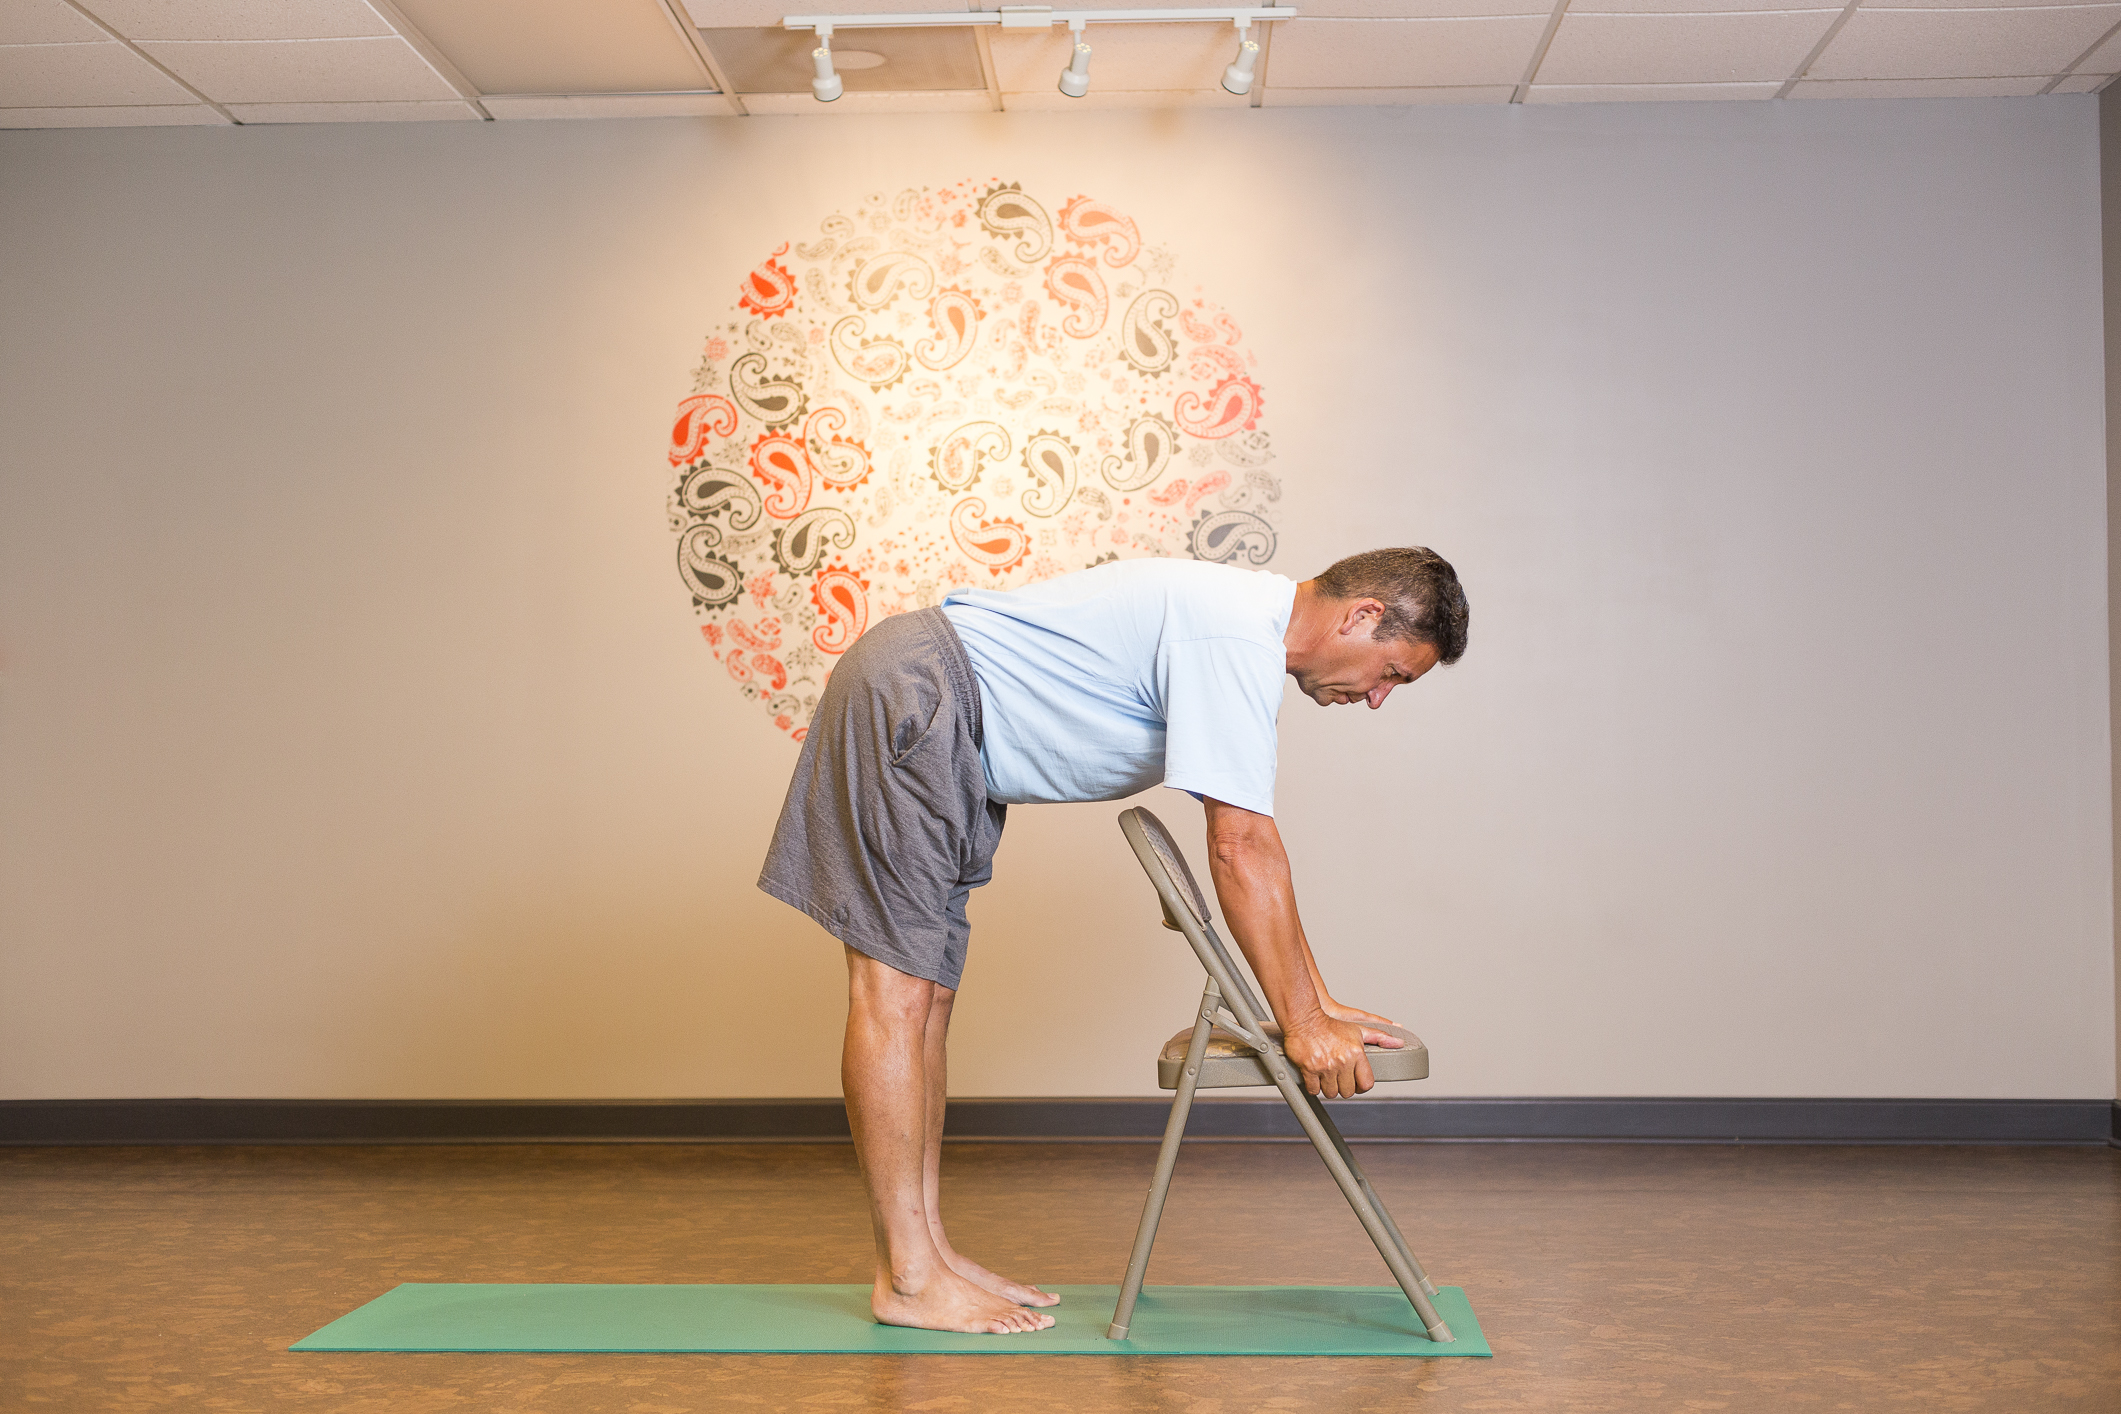
FORWARD FOLD
Slowly roll down the spine to hang forward, with weight in the middle of the feet, not the toes or heels. Be sure not to lock the knees or rolling in/out with the feet. Upper body should just hang without tension, including relaxed head. You can take hold of opposite elbows or interlace fingers behind your back.
COBRA
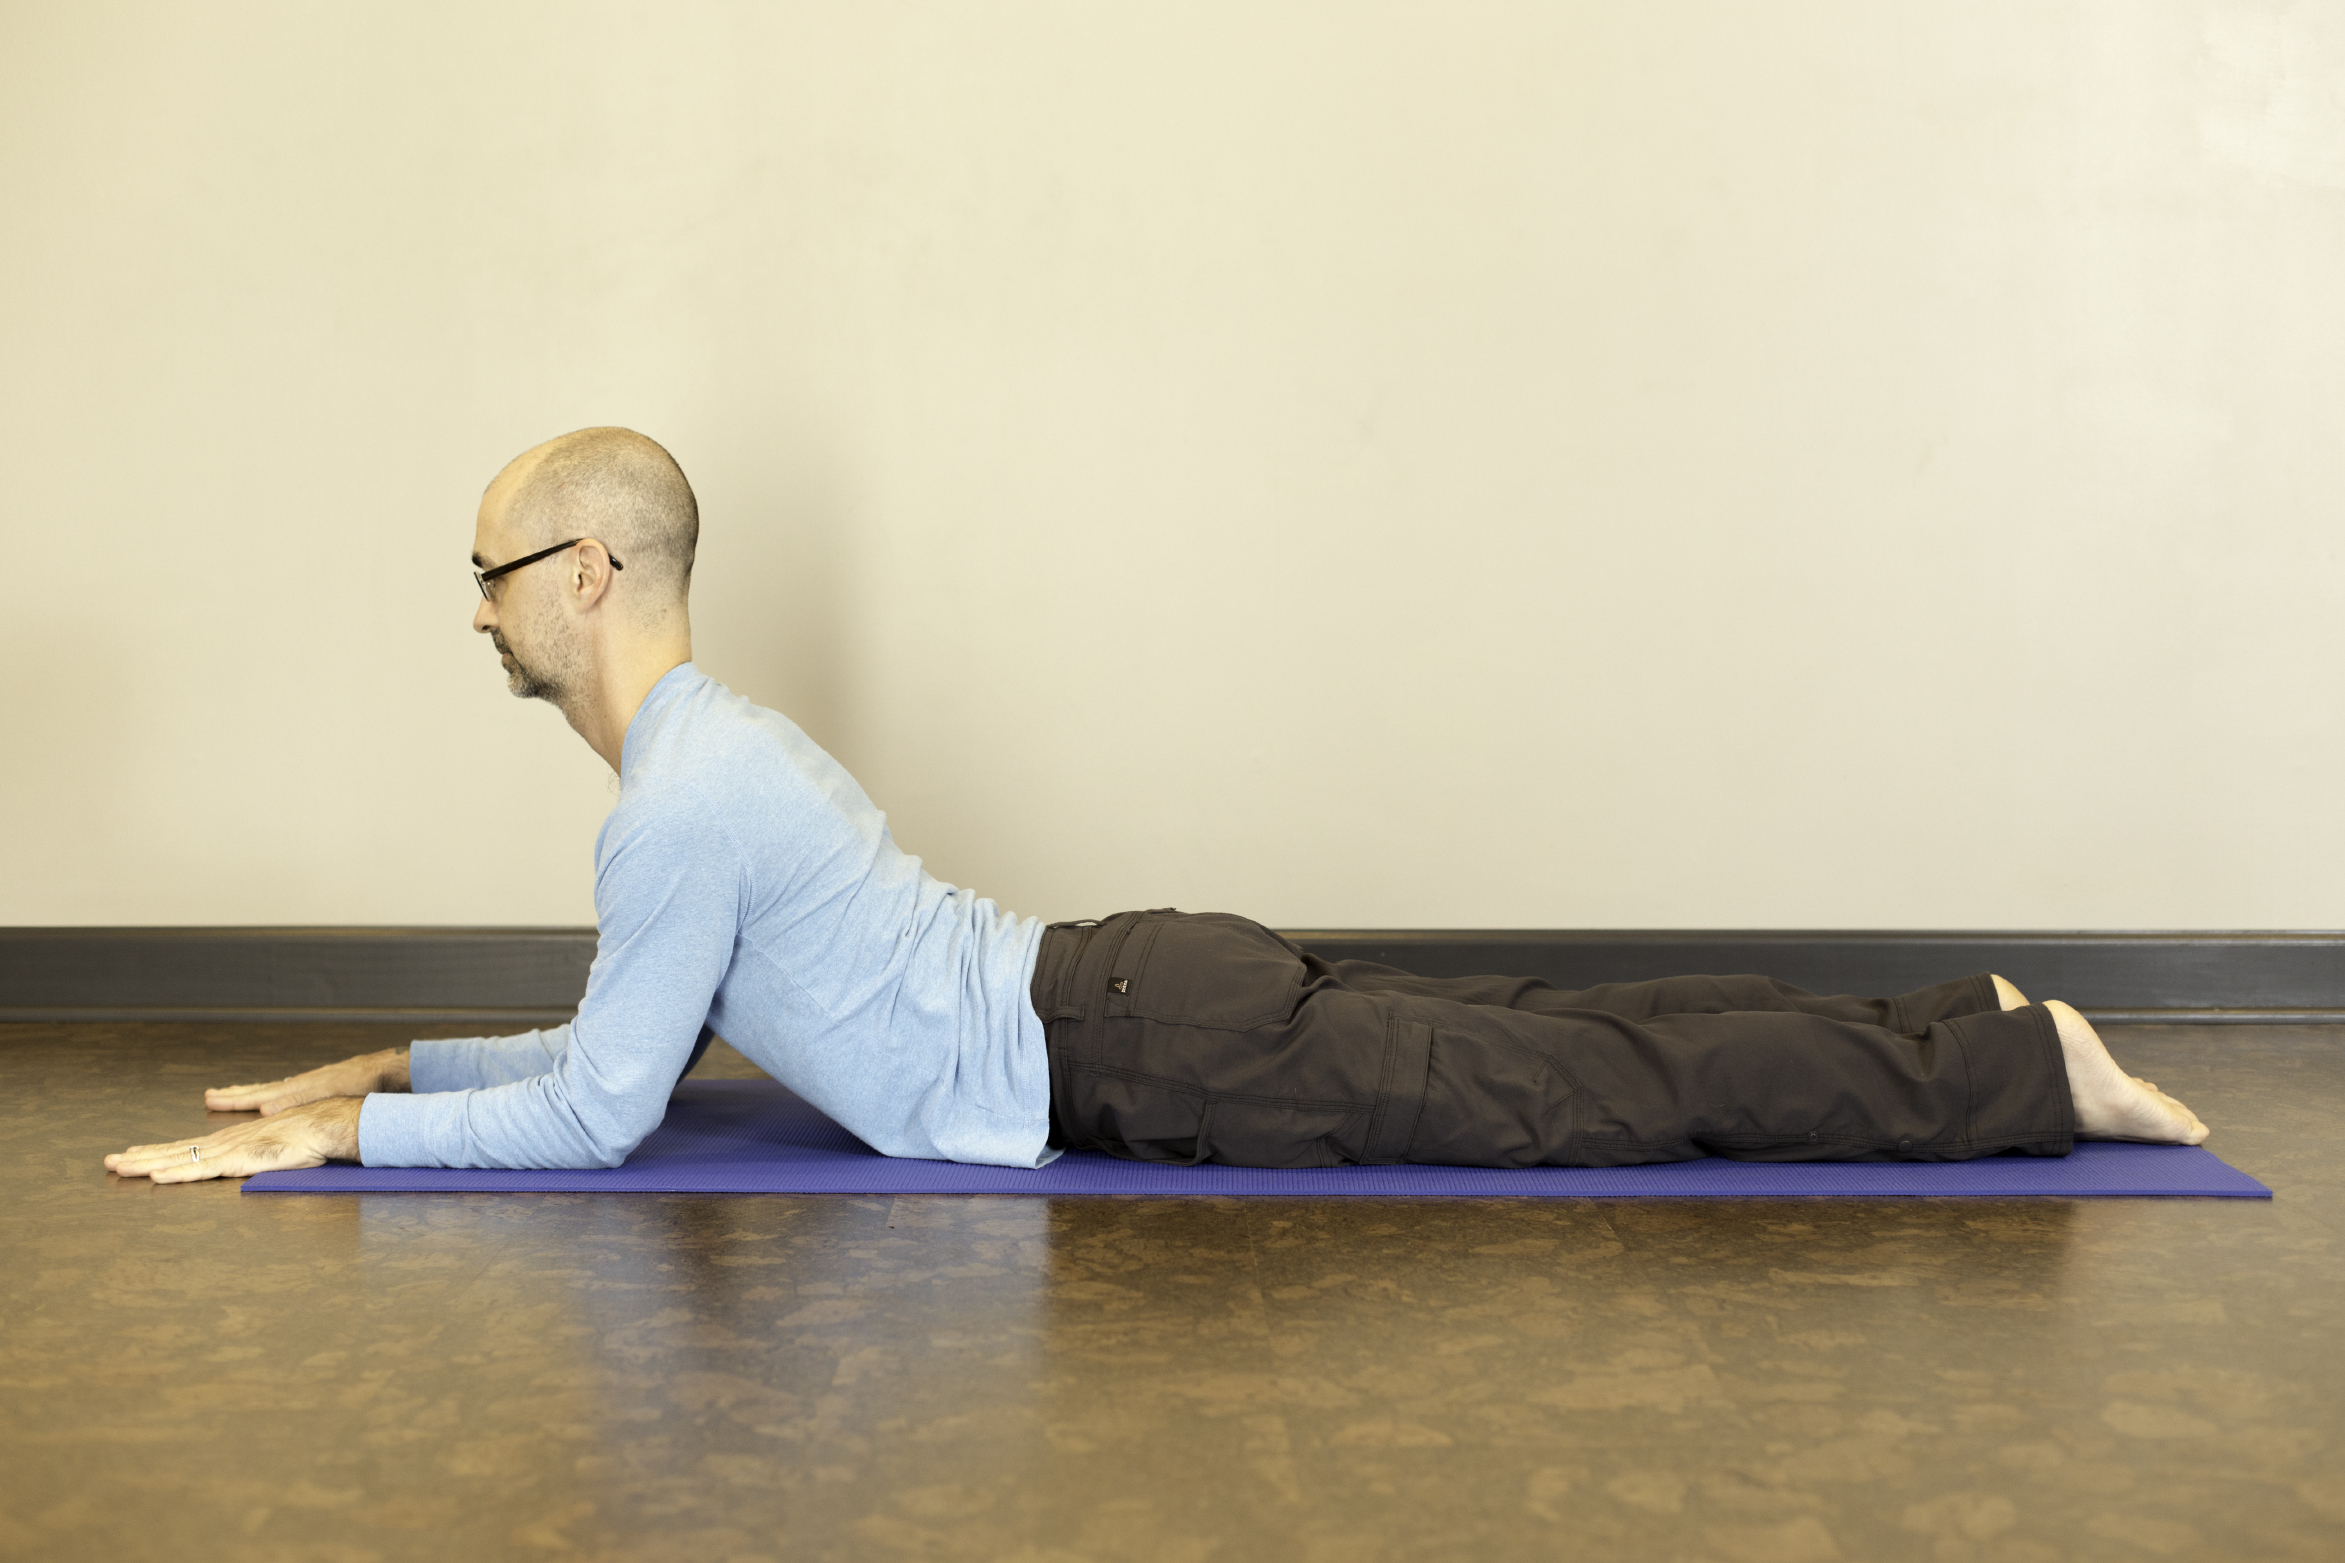
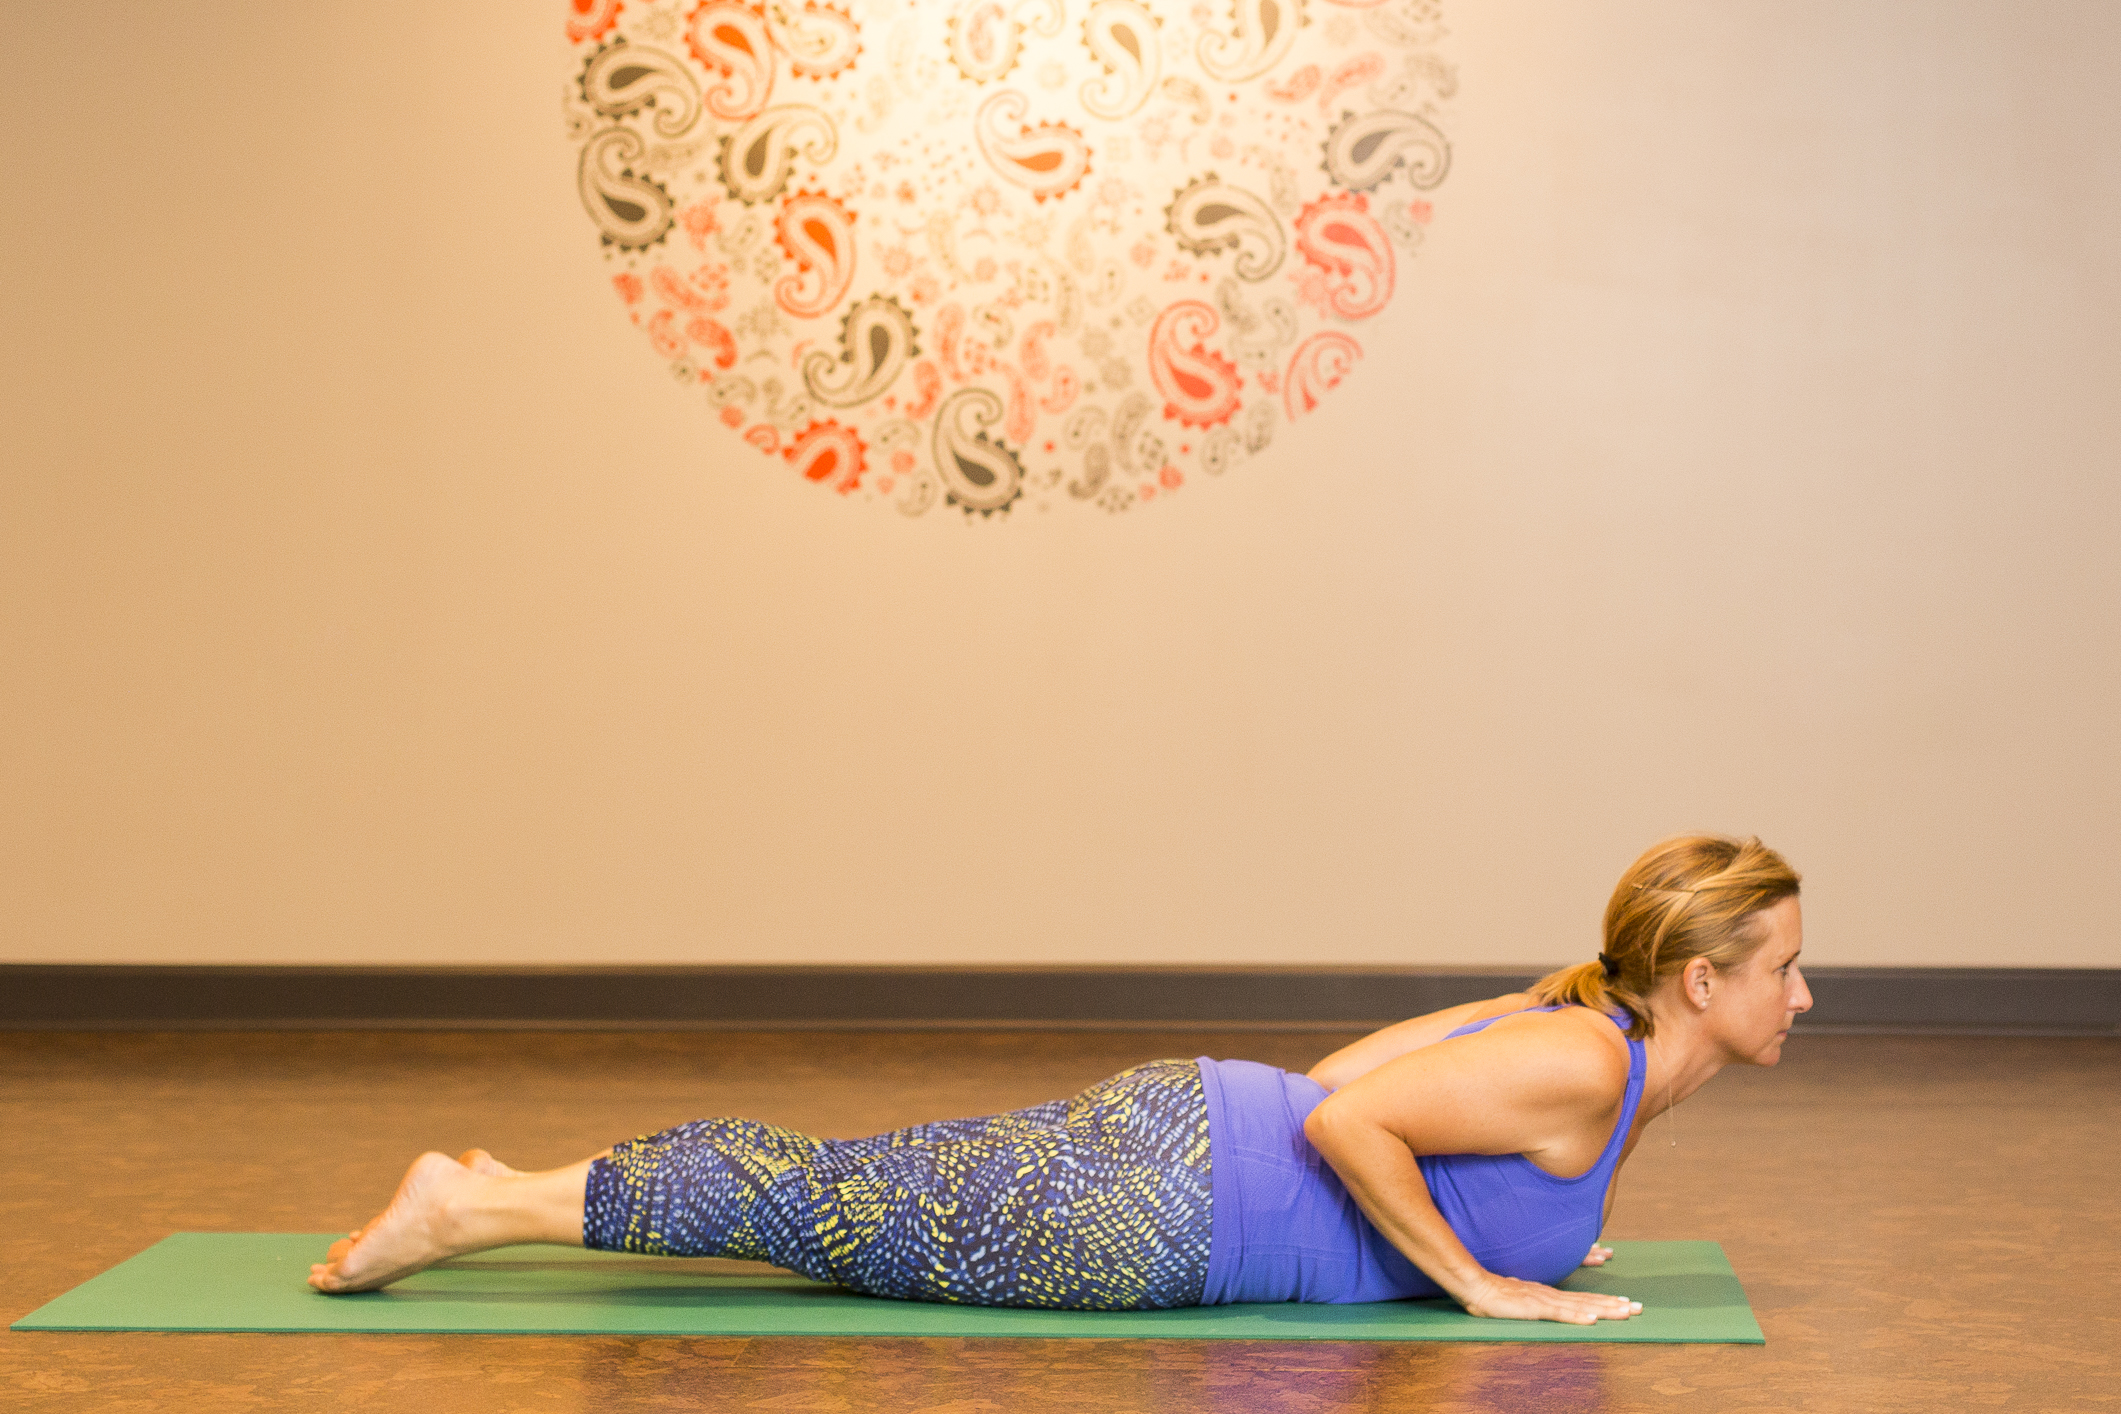
Lay face down with tops of the feet resting on the floor. Palms are flat on the floor alongside the chest, elbows in close to the body. For those unable to place their palms on the floor, you can use fists or elbows. Head, neck and chest are lifted off the floor, gaze forward, keeping the feet and legs down. Upper back muscles should be engaged and arms should not be used to execute the movement. You can test this by trying to lift hands from the floor and maintain the pose. For more of a challenge, interlace fingers behind back to draw shoulder blades together (or hold opposite wrist).
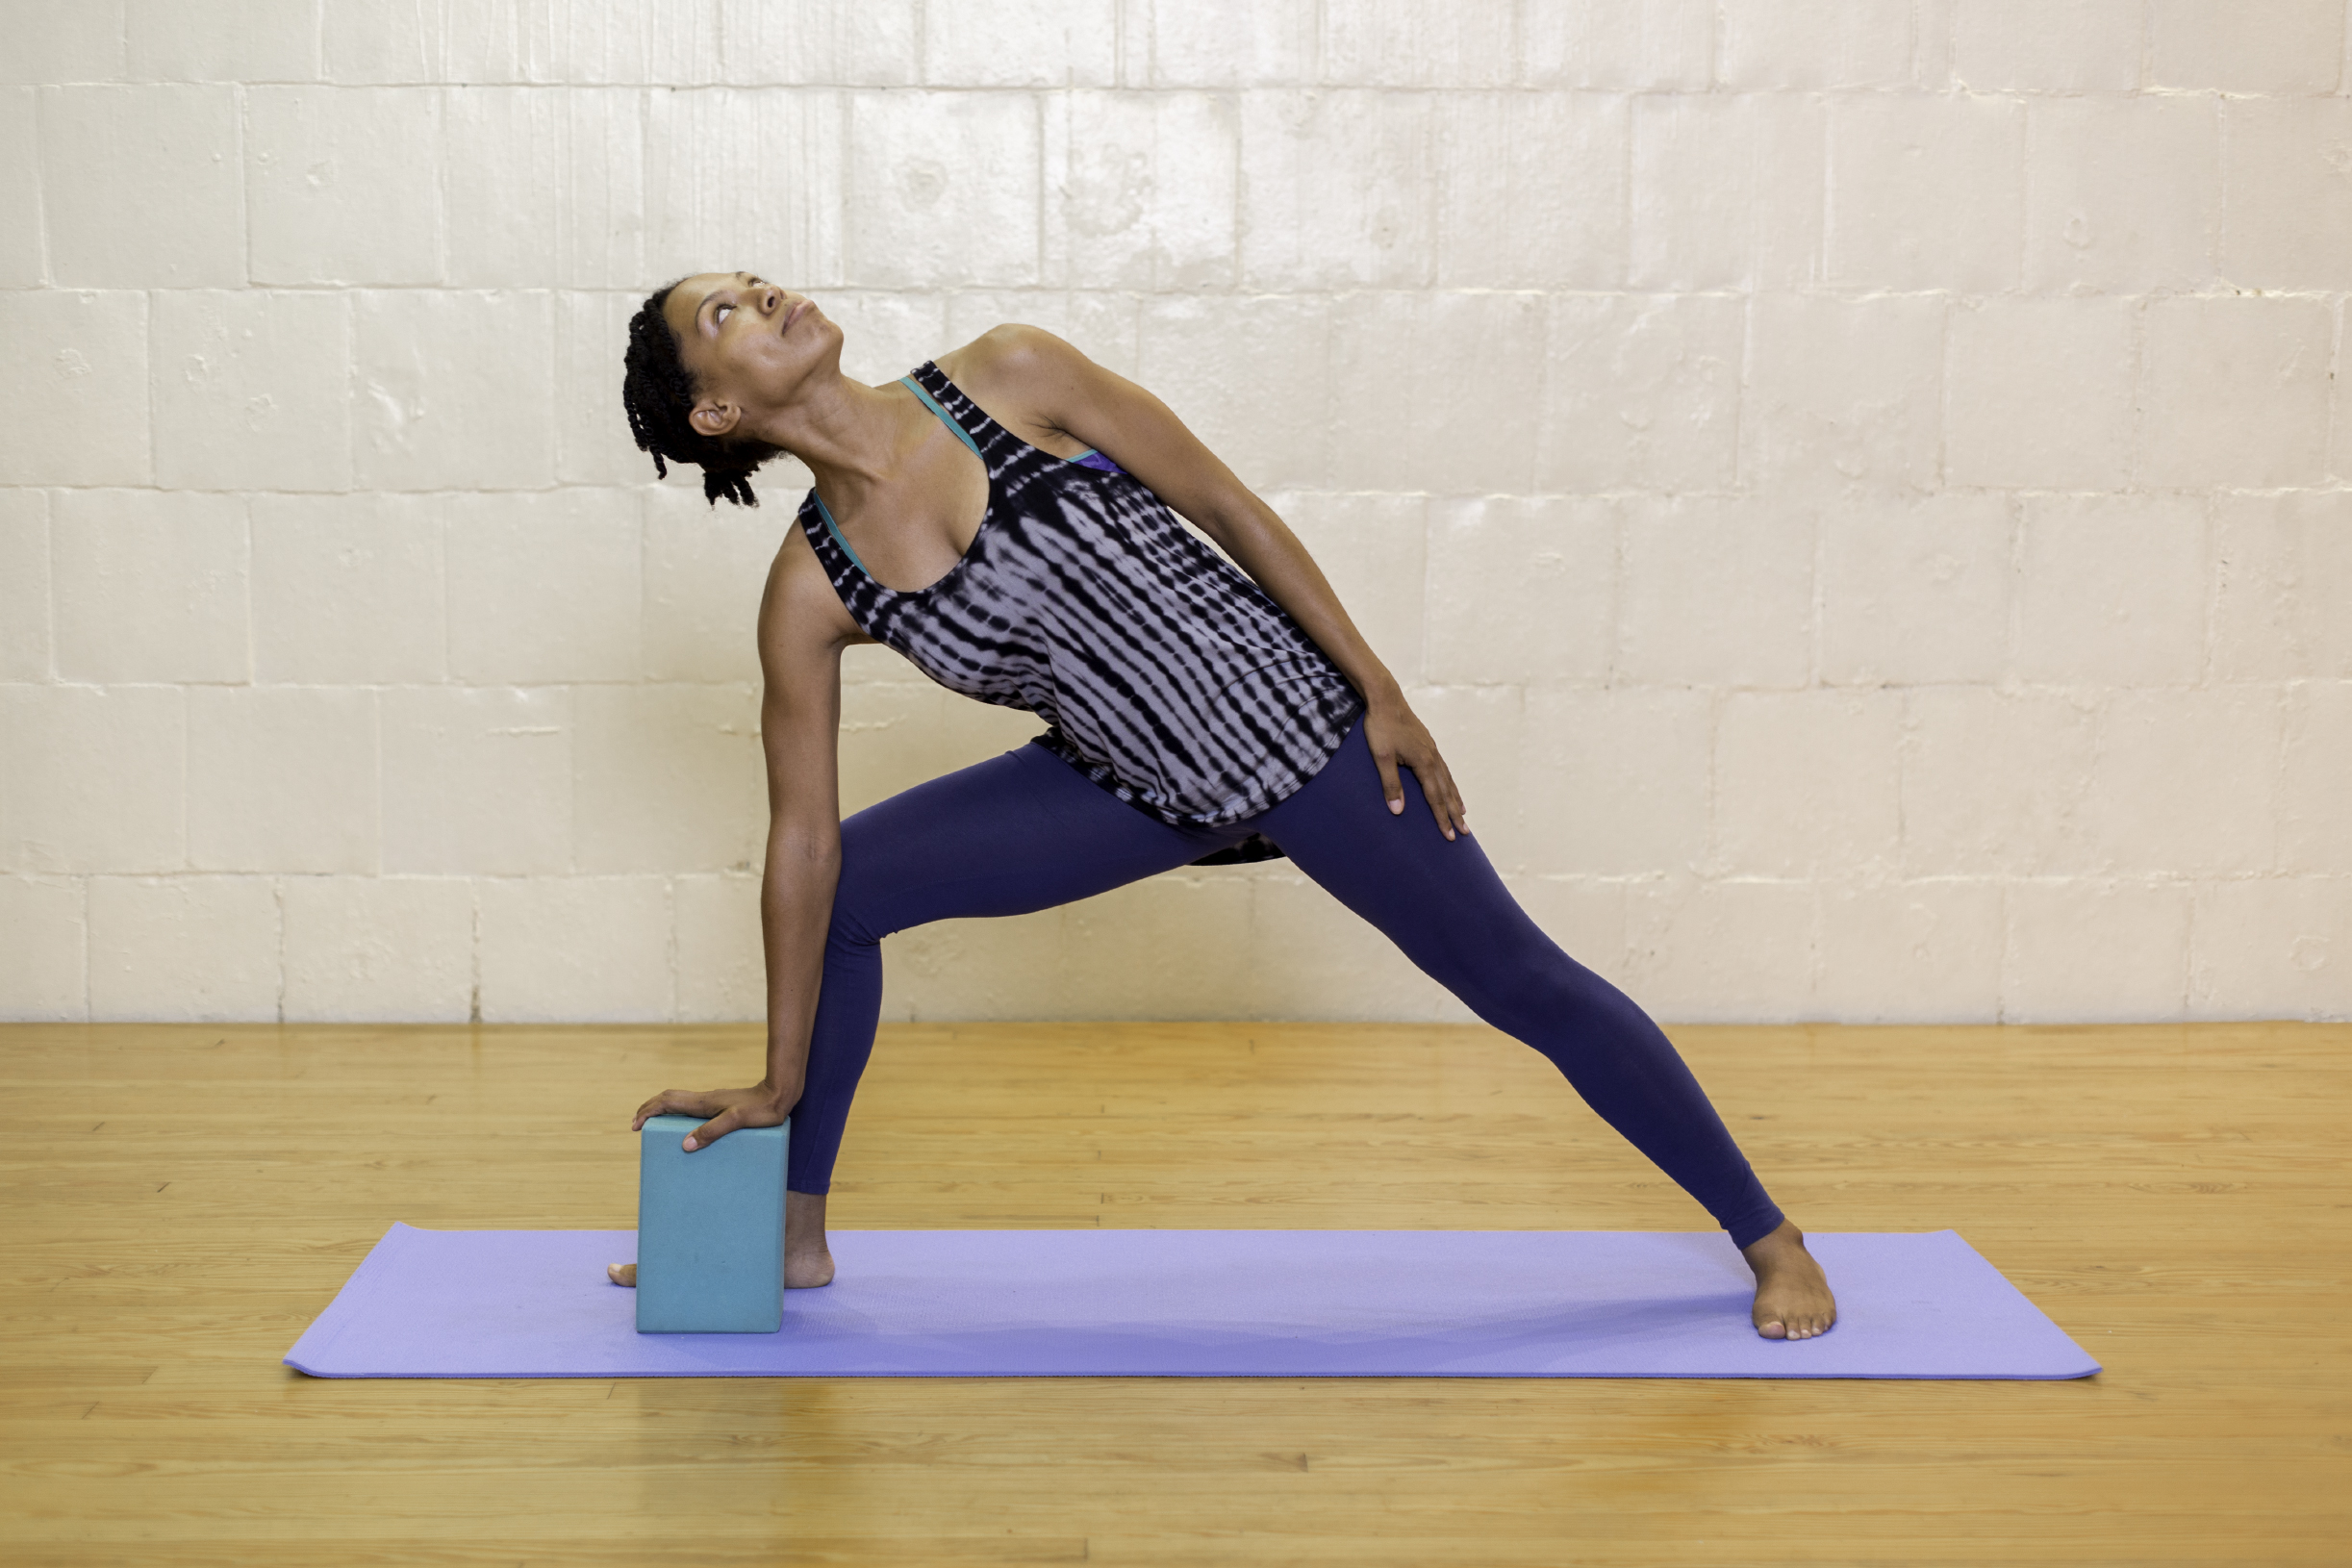
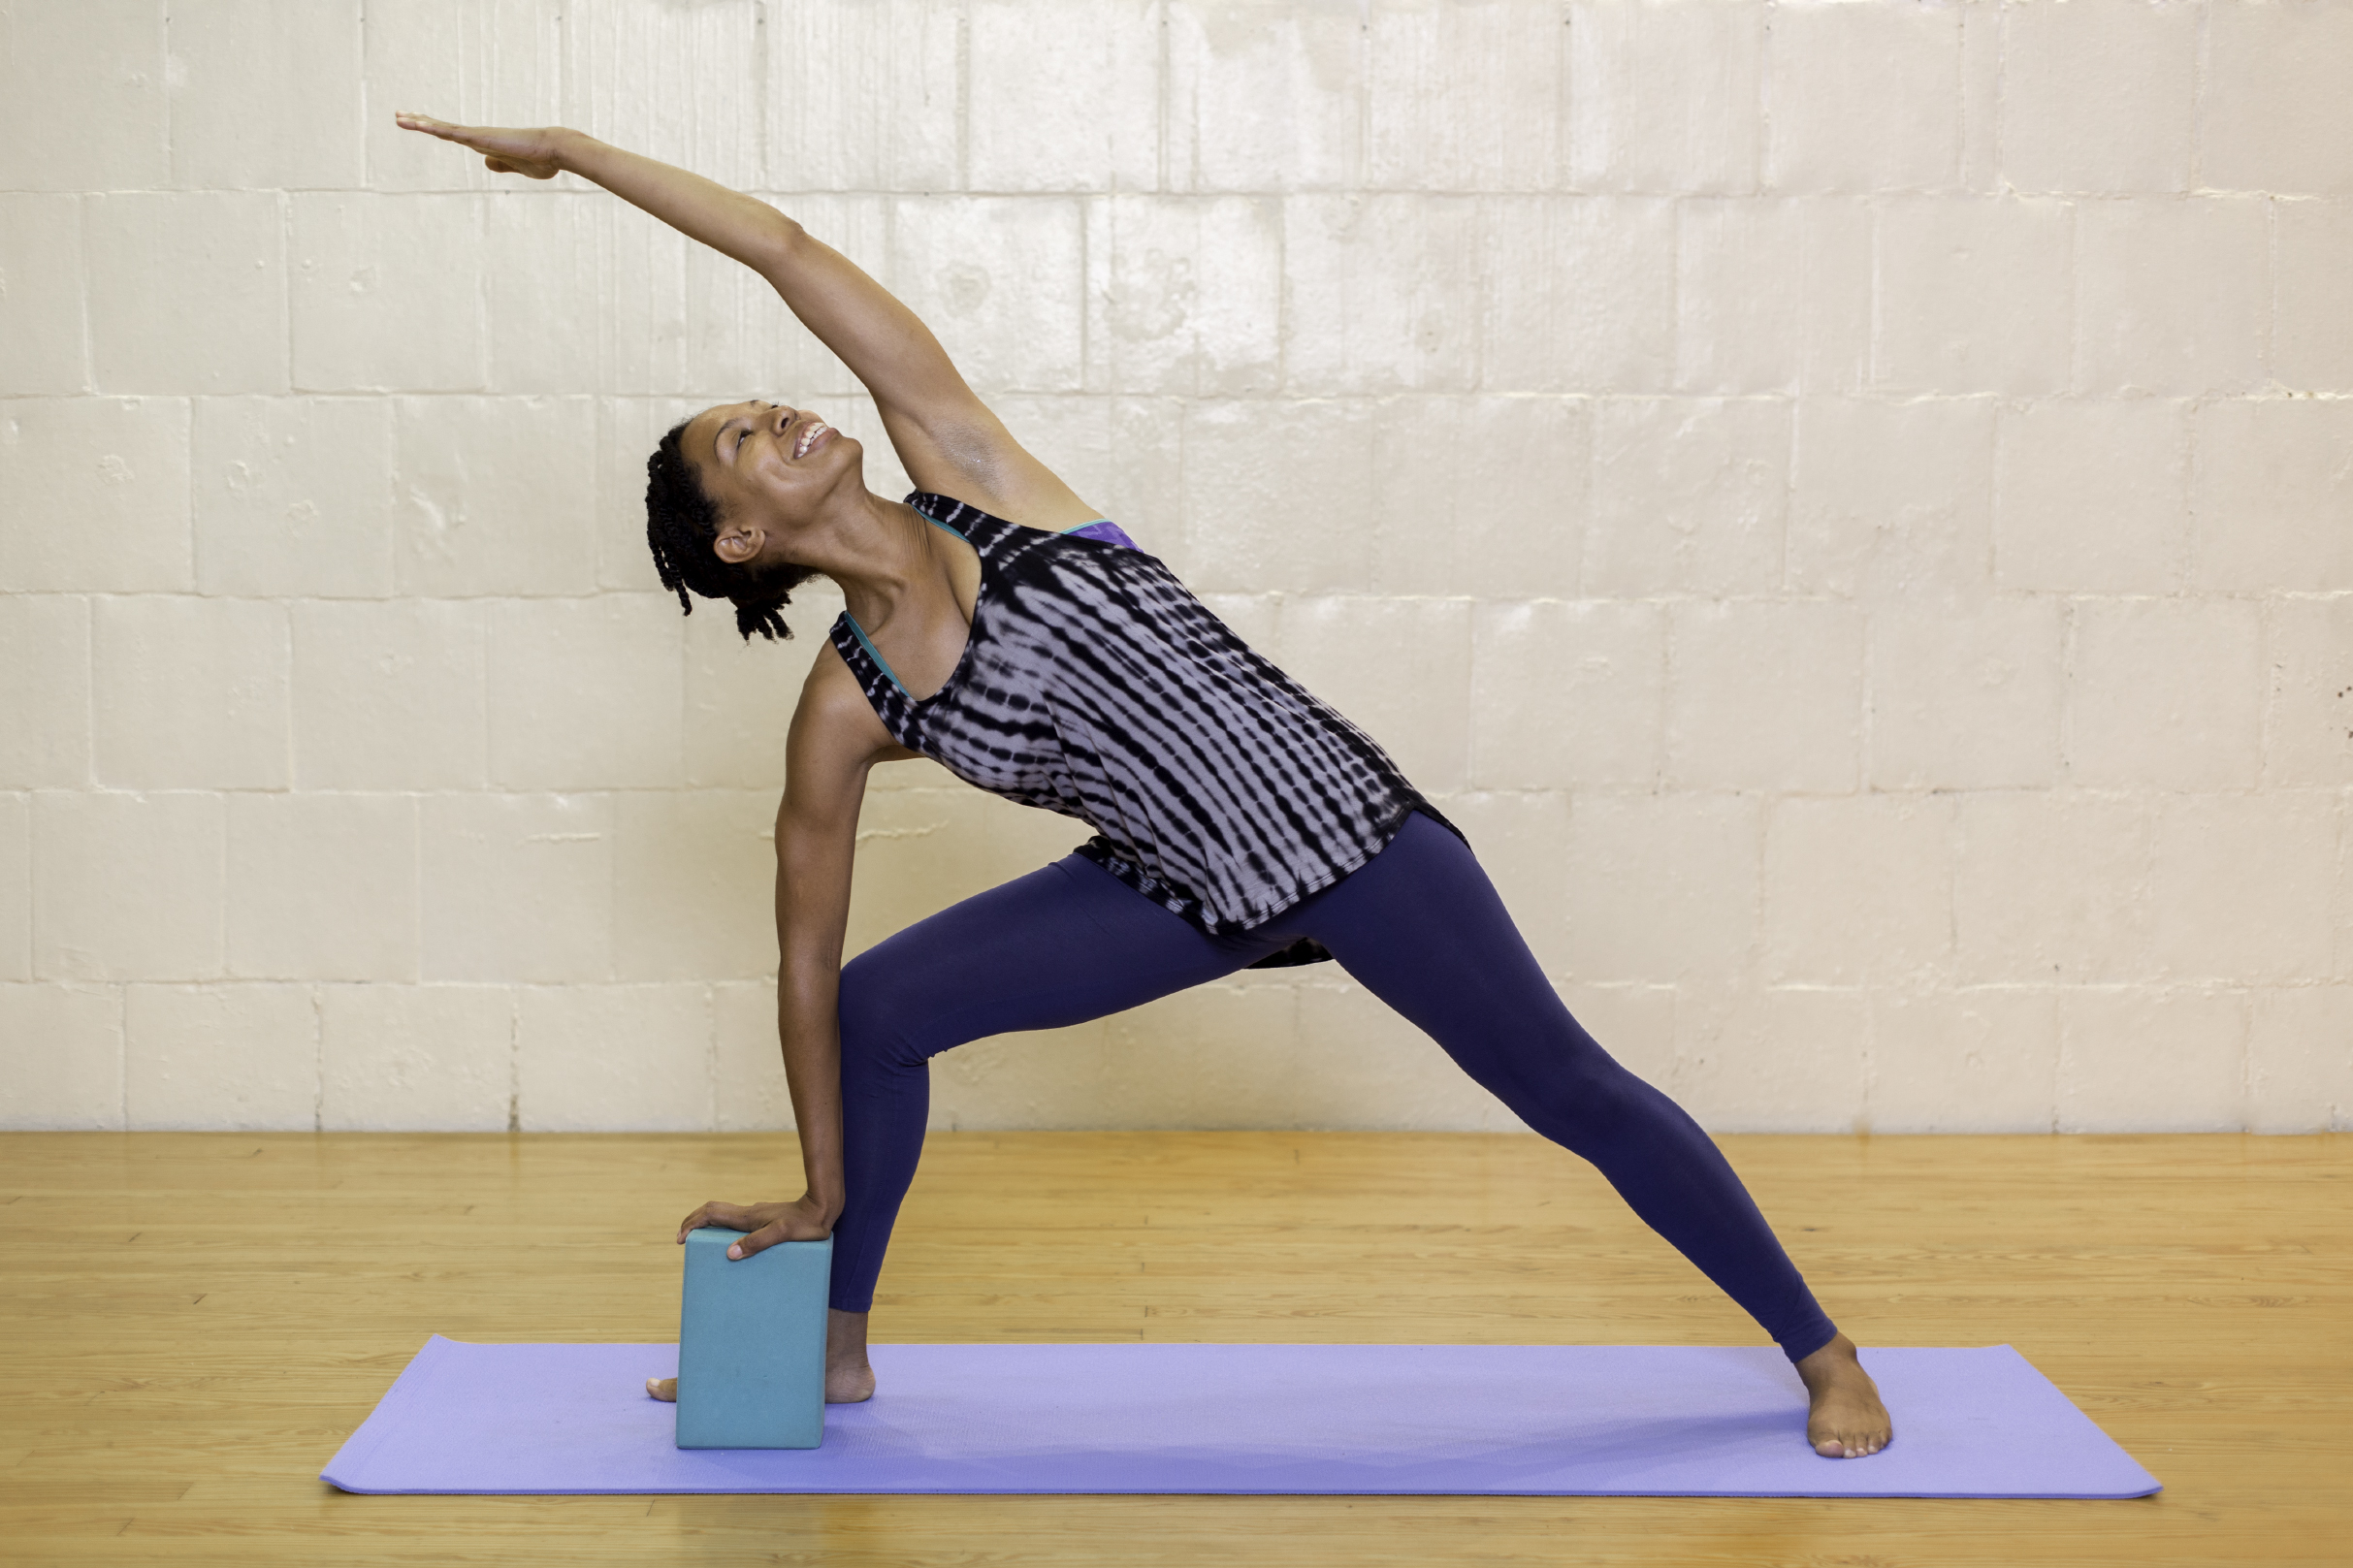
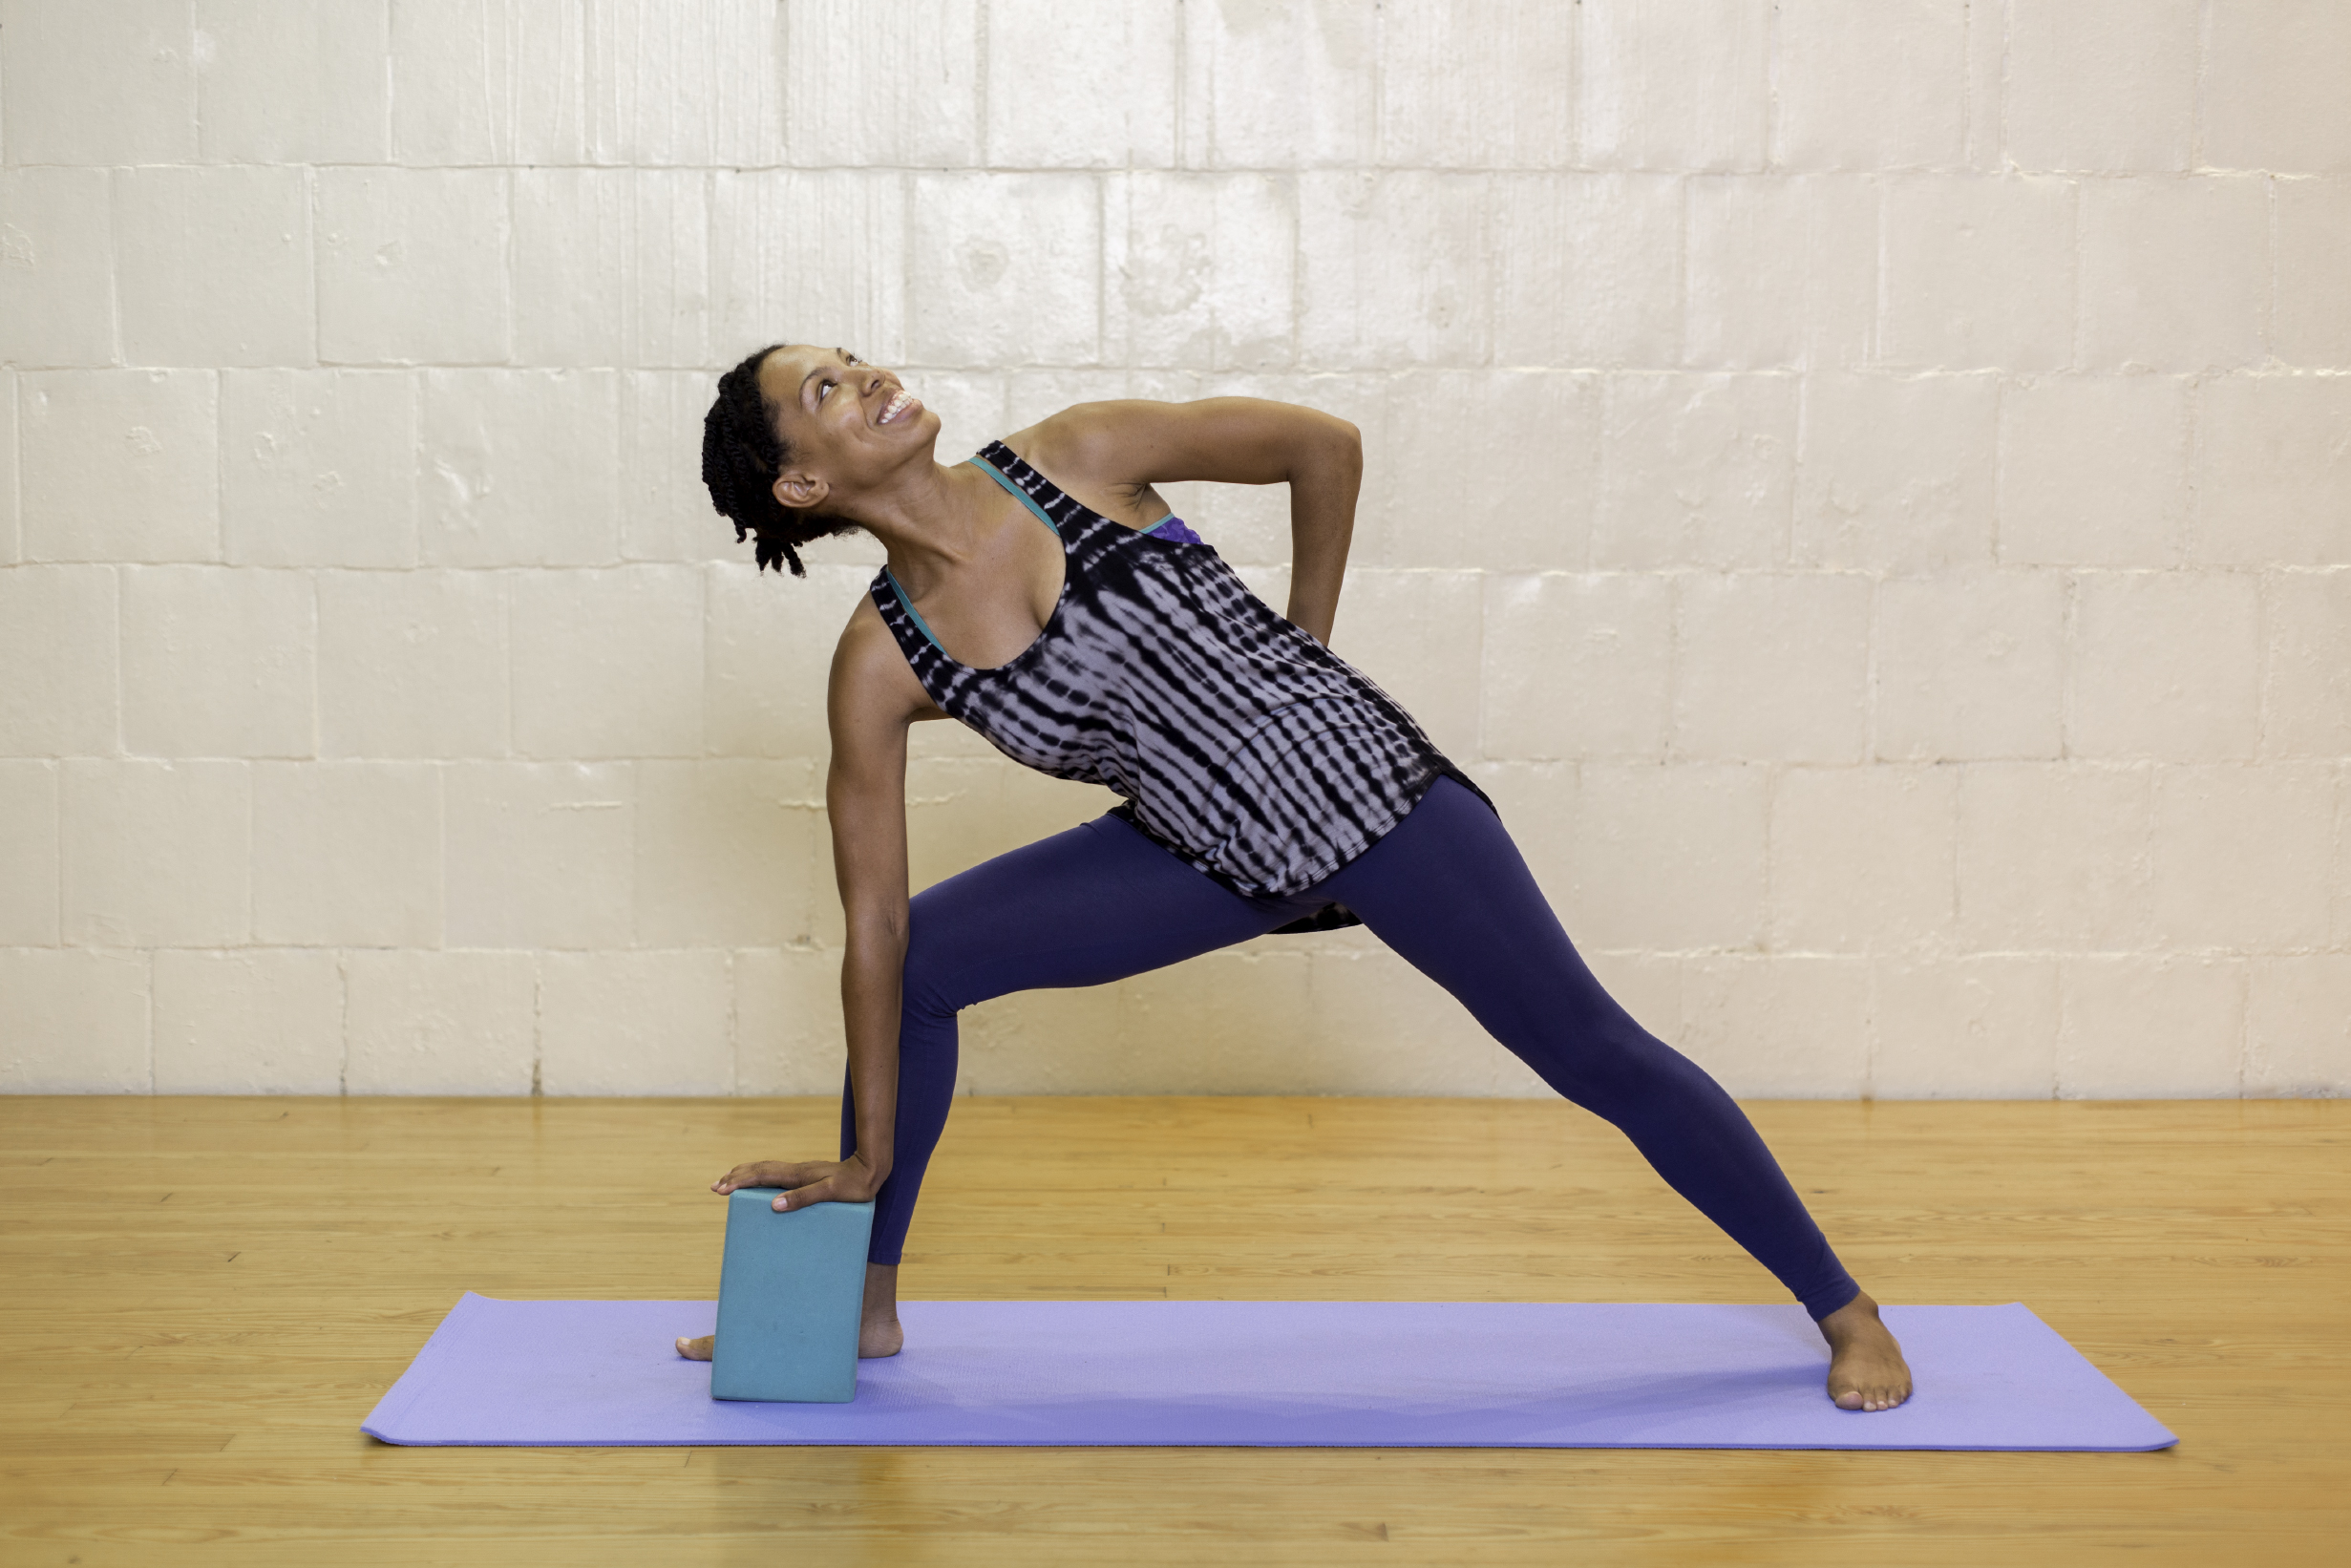
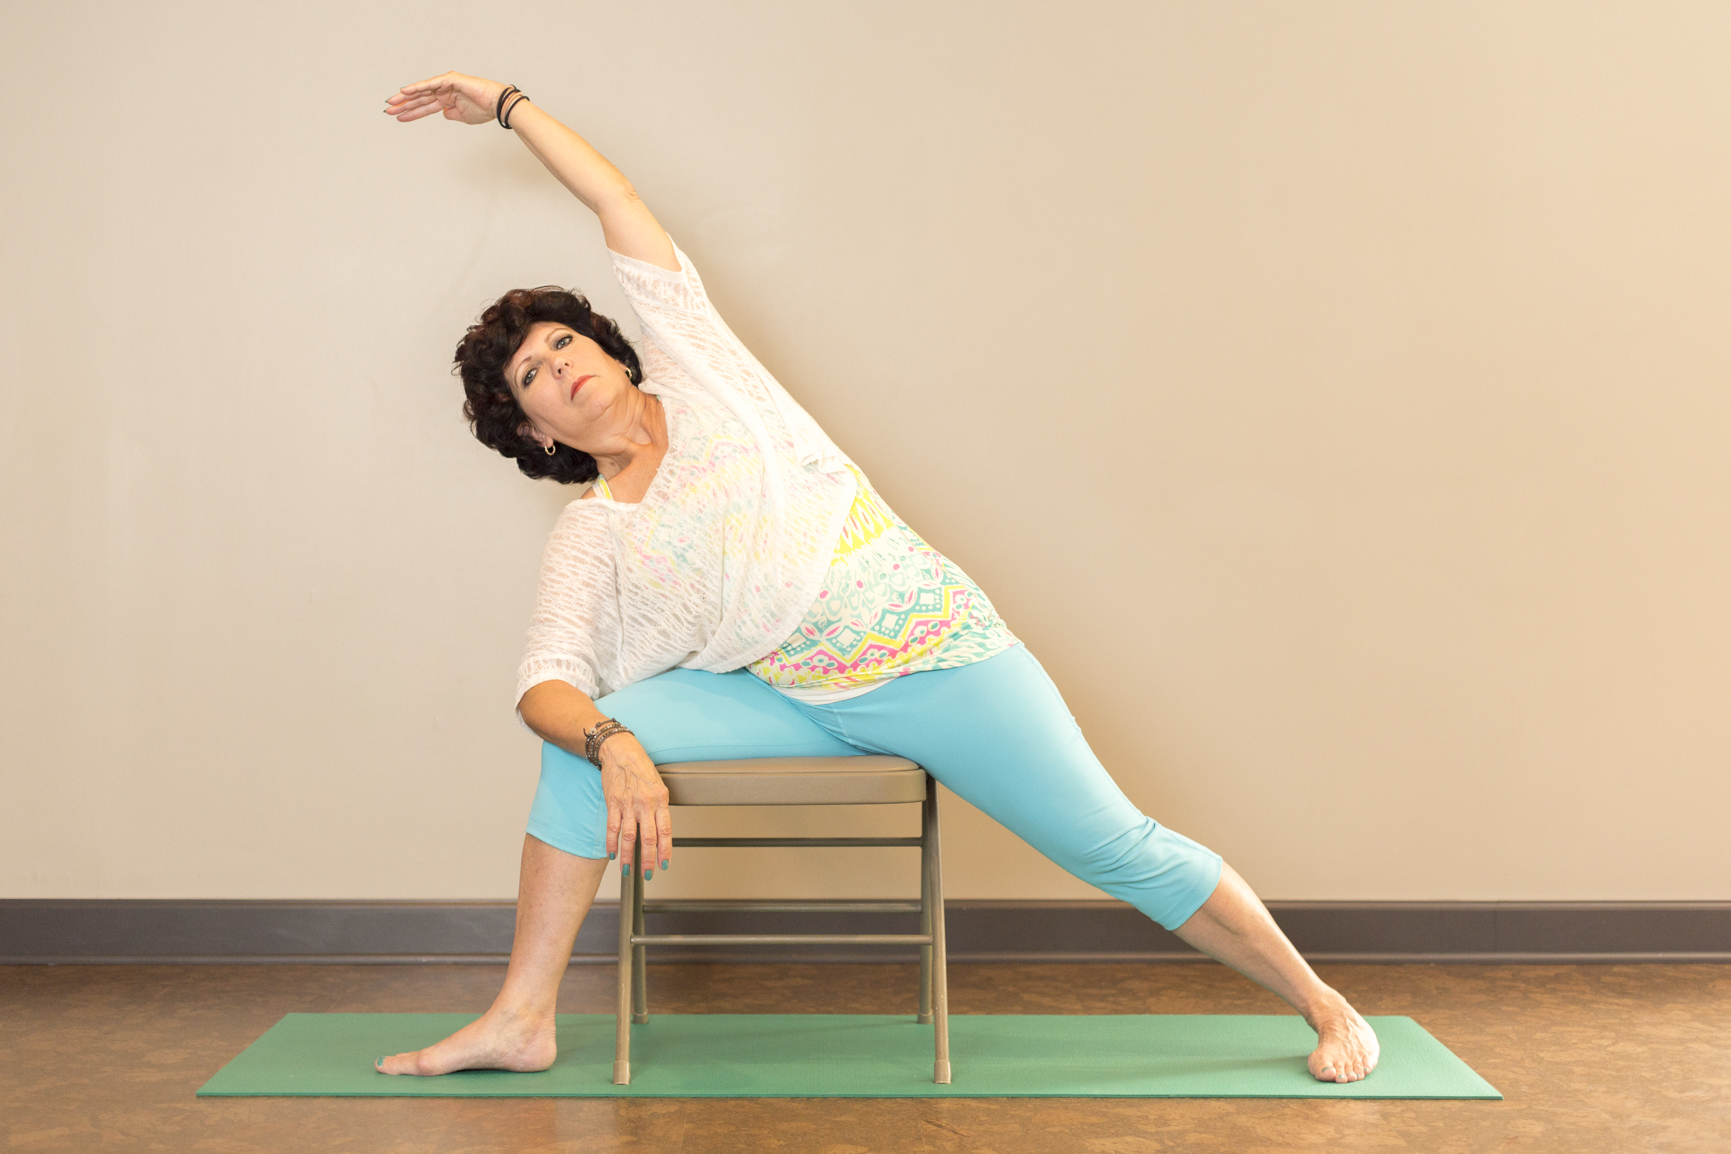
SIDE ANGLE POSE
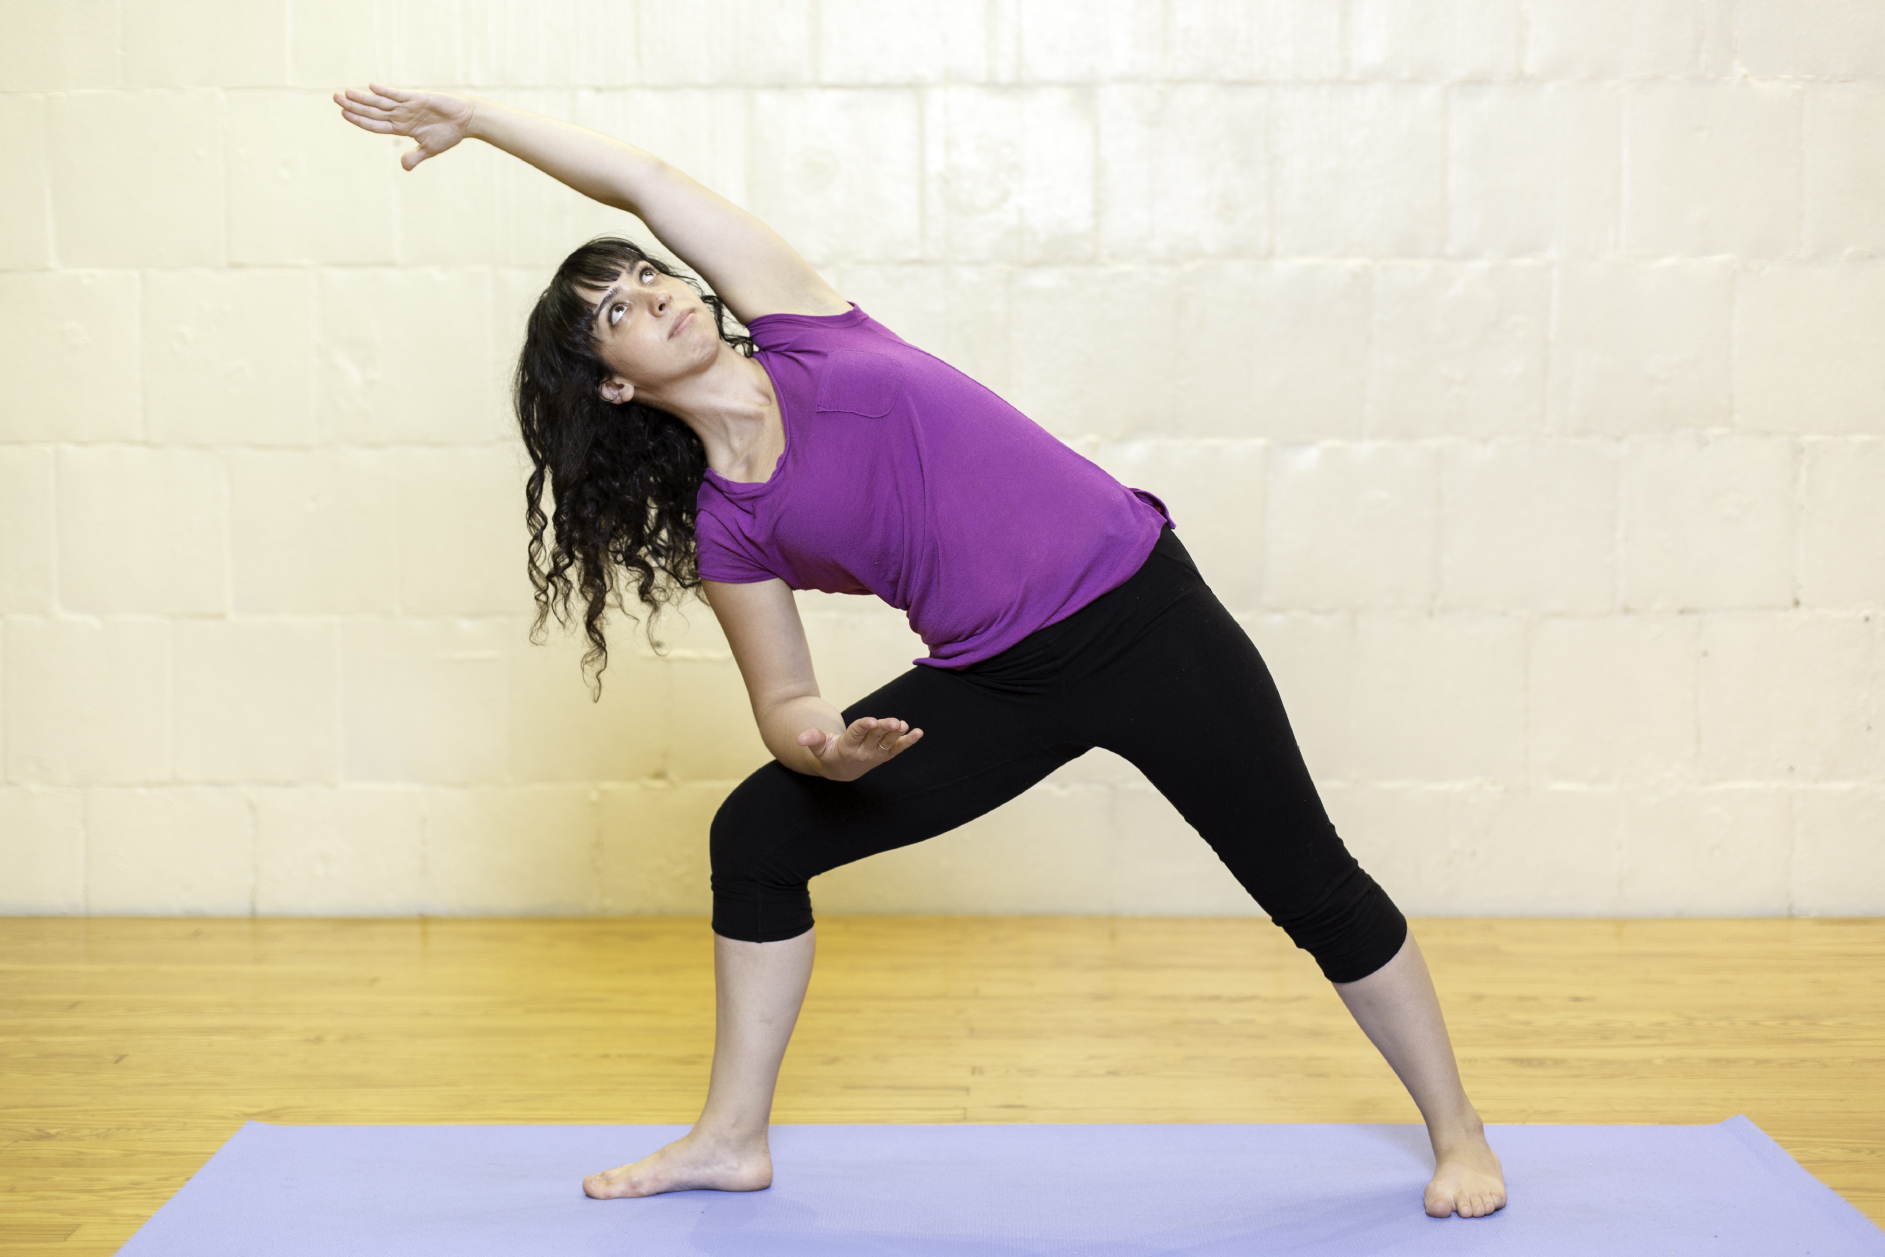
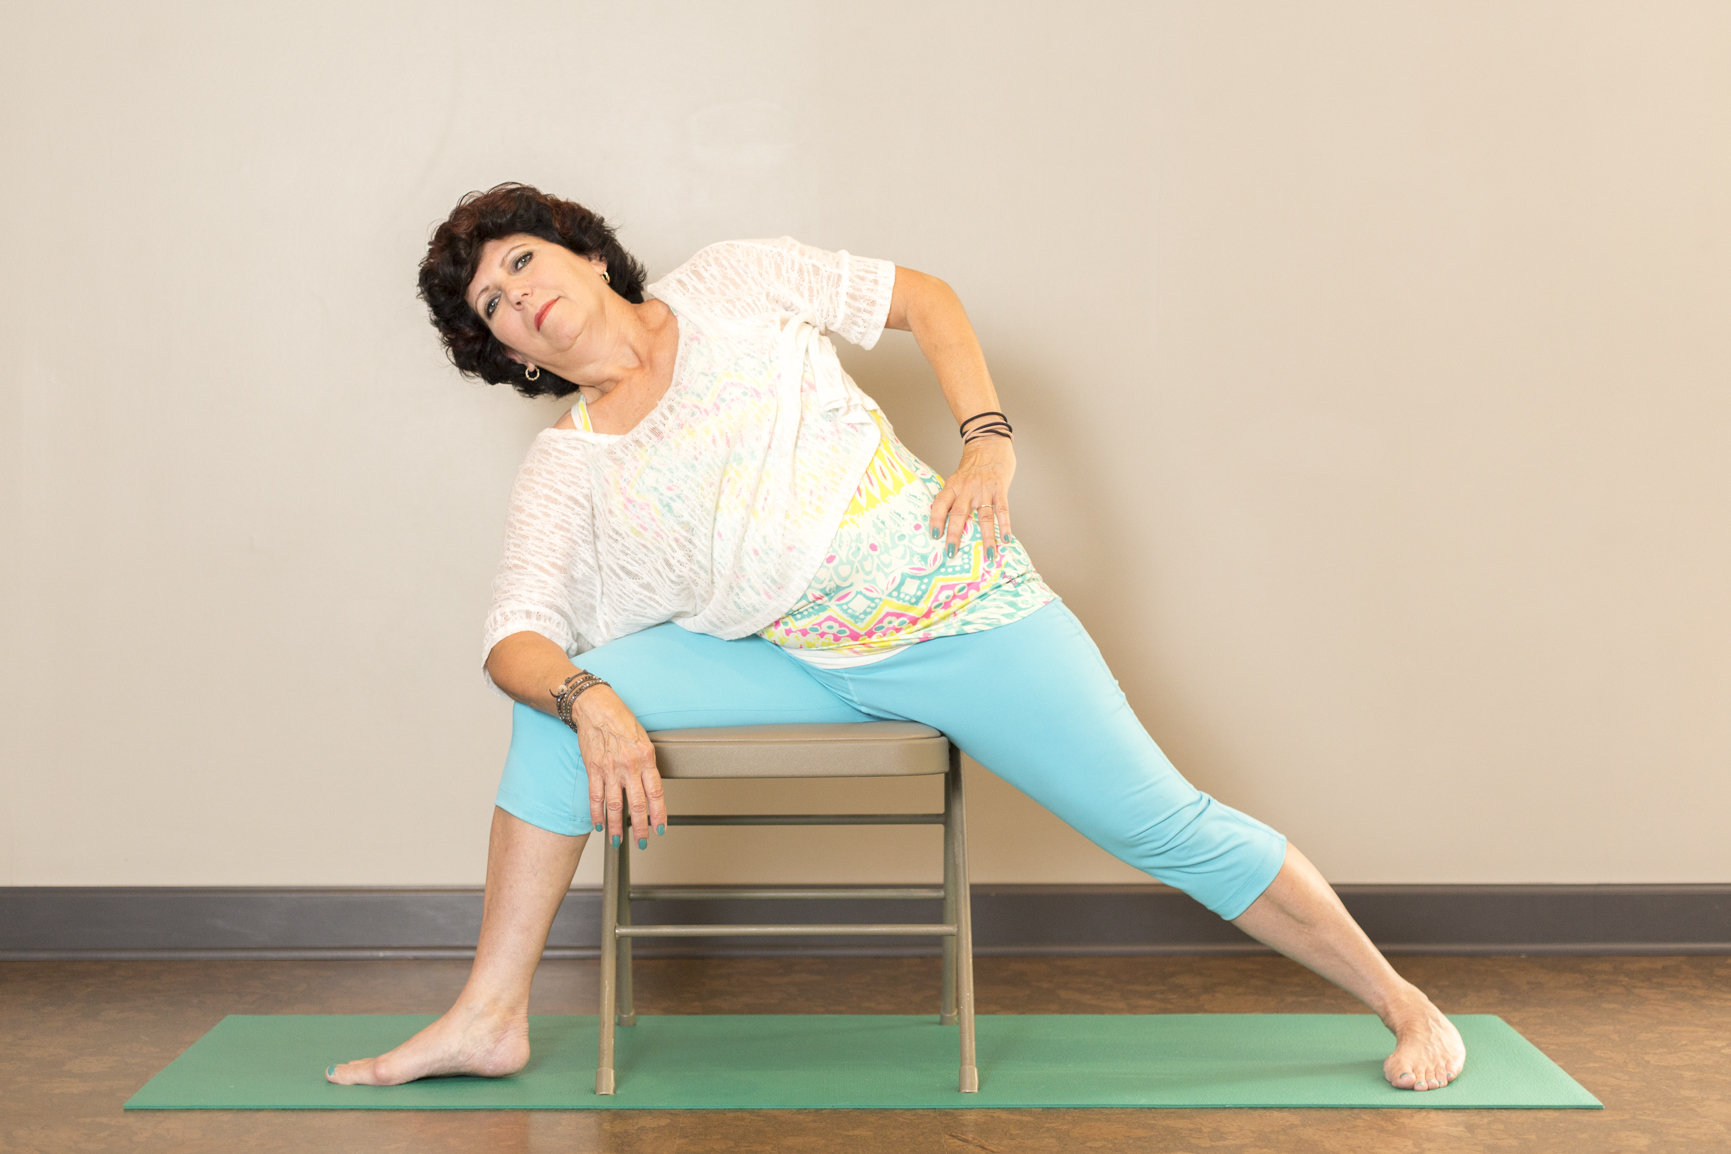
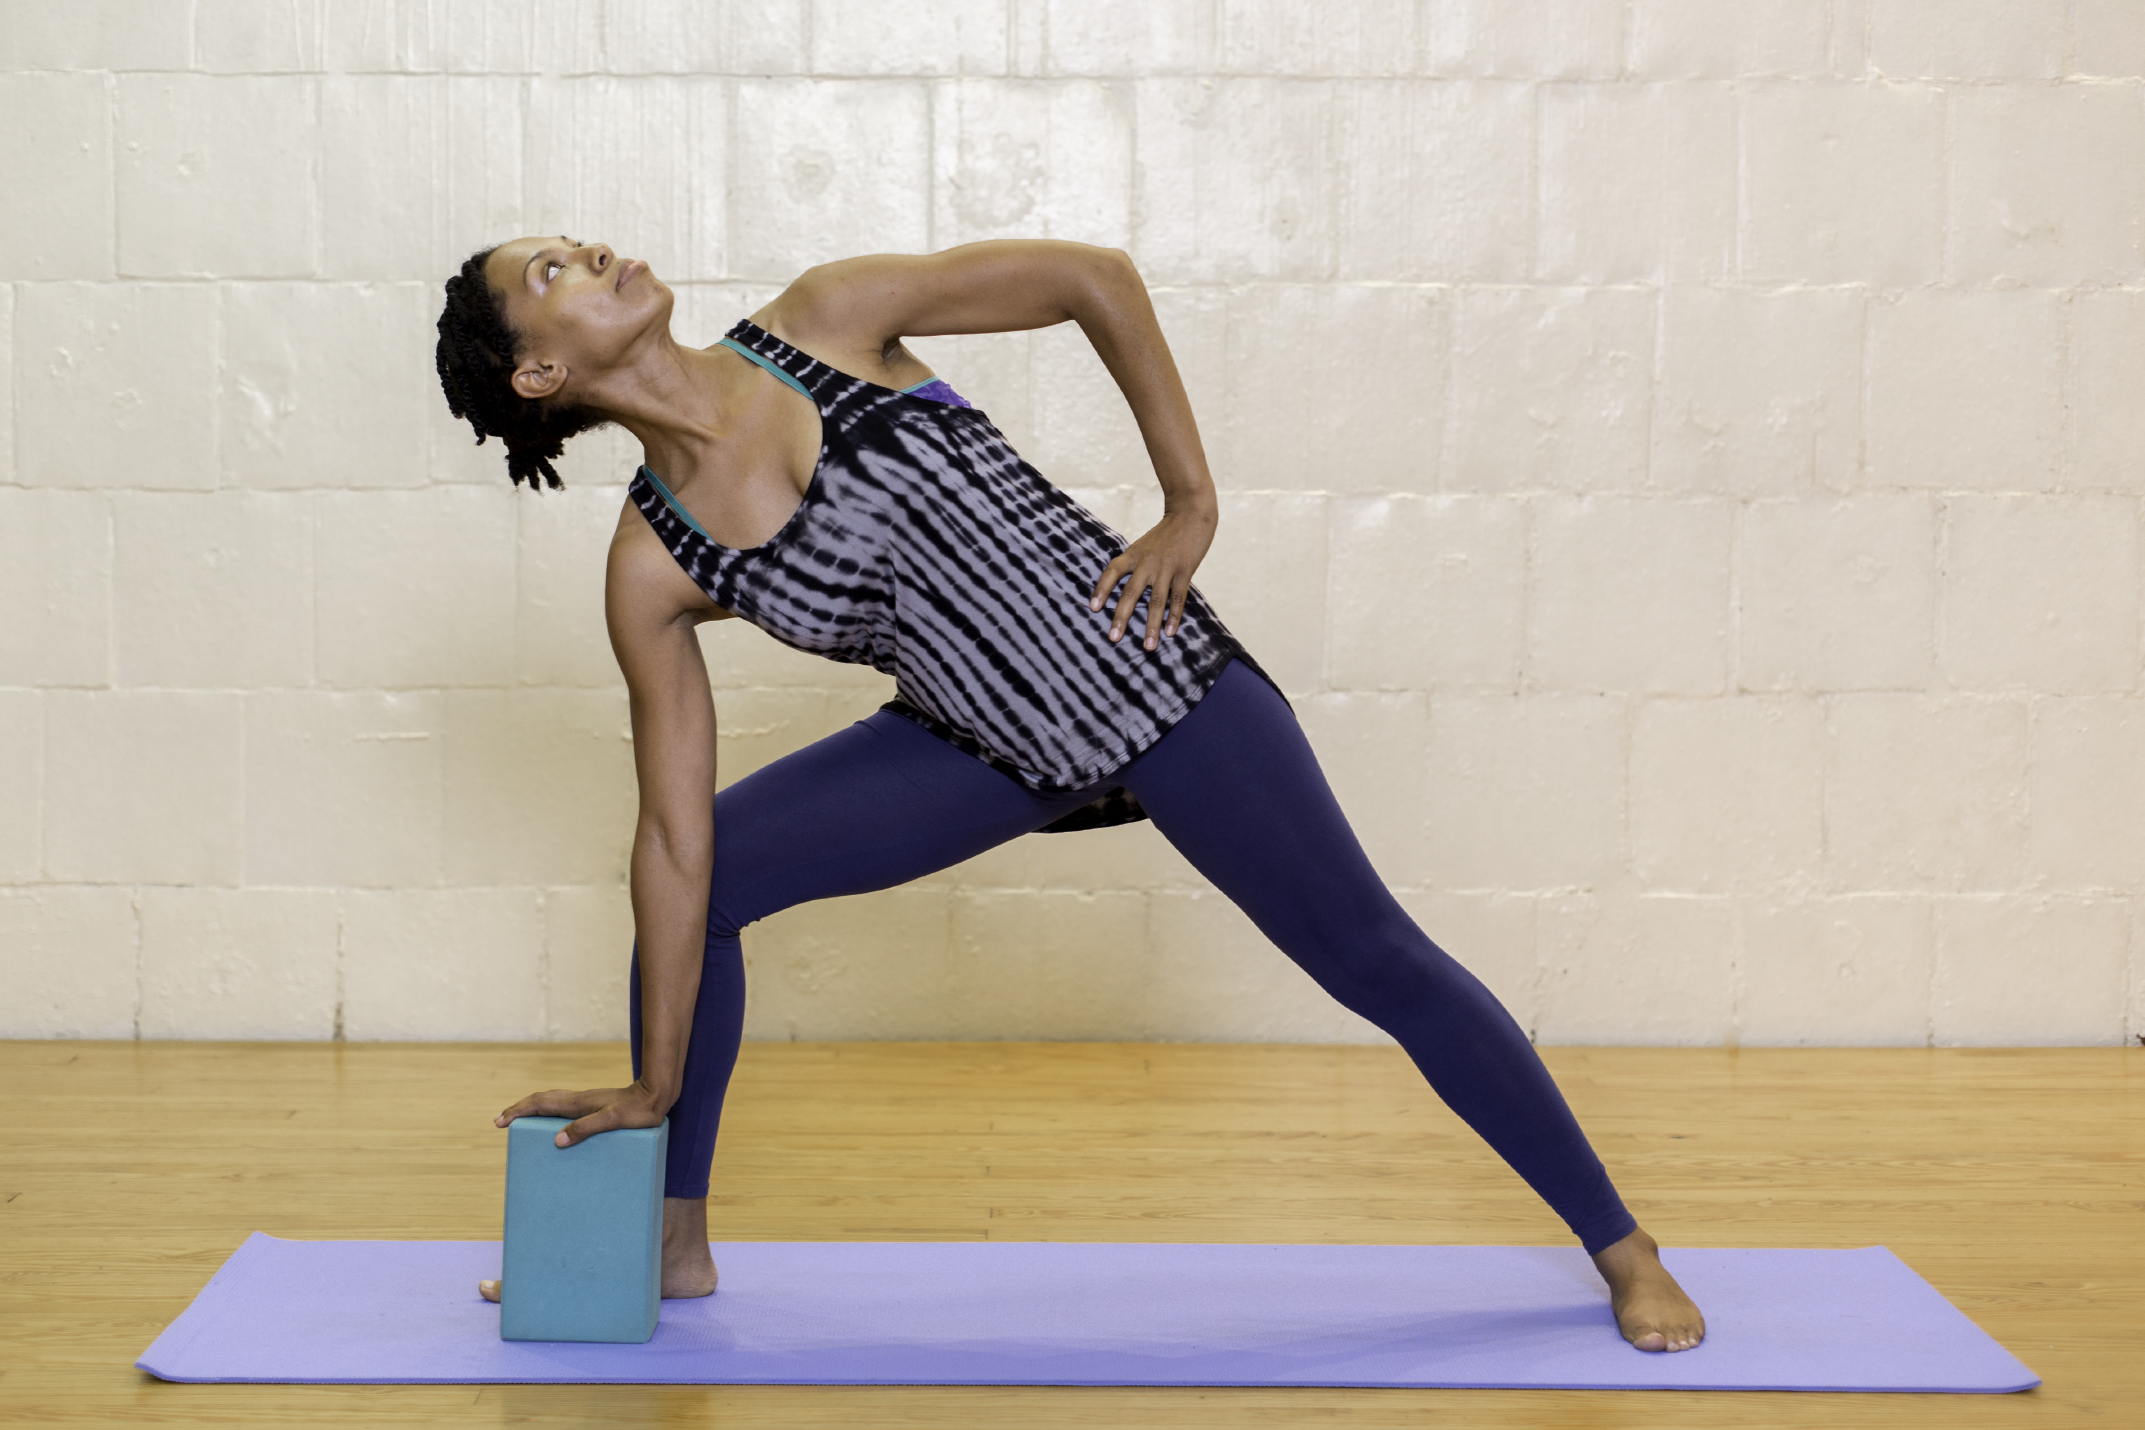
With feet about 4 ft. apart, turn the right foot out 90 degrees and angle the left foot in 45 degrees. Bend the right knee, keeping the knee directly over the toes. Bring your right elbow to the bent right knee and the left arm extends alongside the left ear. The goal is one continuous diagonal line from the back left foot to that extended left arm. The arm should not be pointed straight up toward the ceiling. Gaze is past the extended fingers. Try not to tense or sink in the lower shoulder, but lift out of the supporting elbow. The hips and shoulders should be in one plane, as though laying against a wall. (You could even try it against a wall to check.) Release any tension in the hand and fingers of the extended arm. Repeat on the other side.
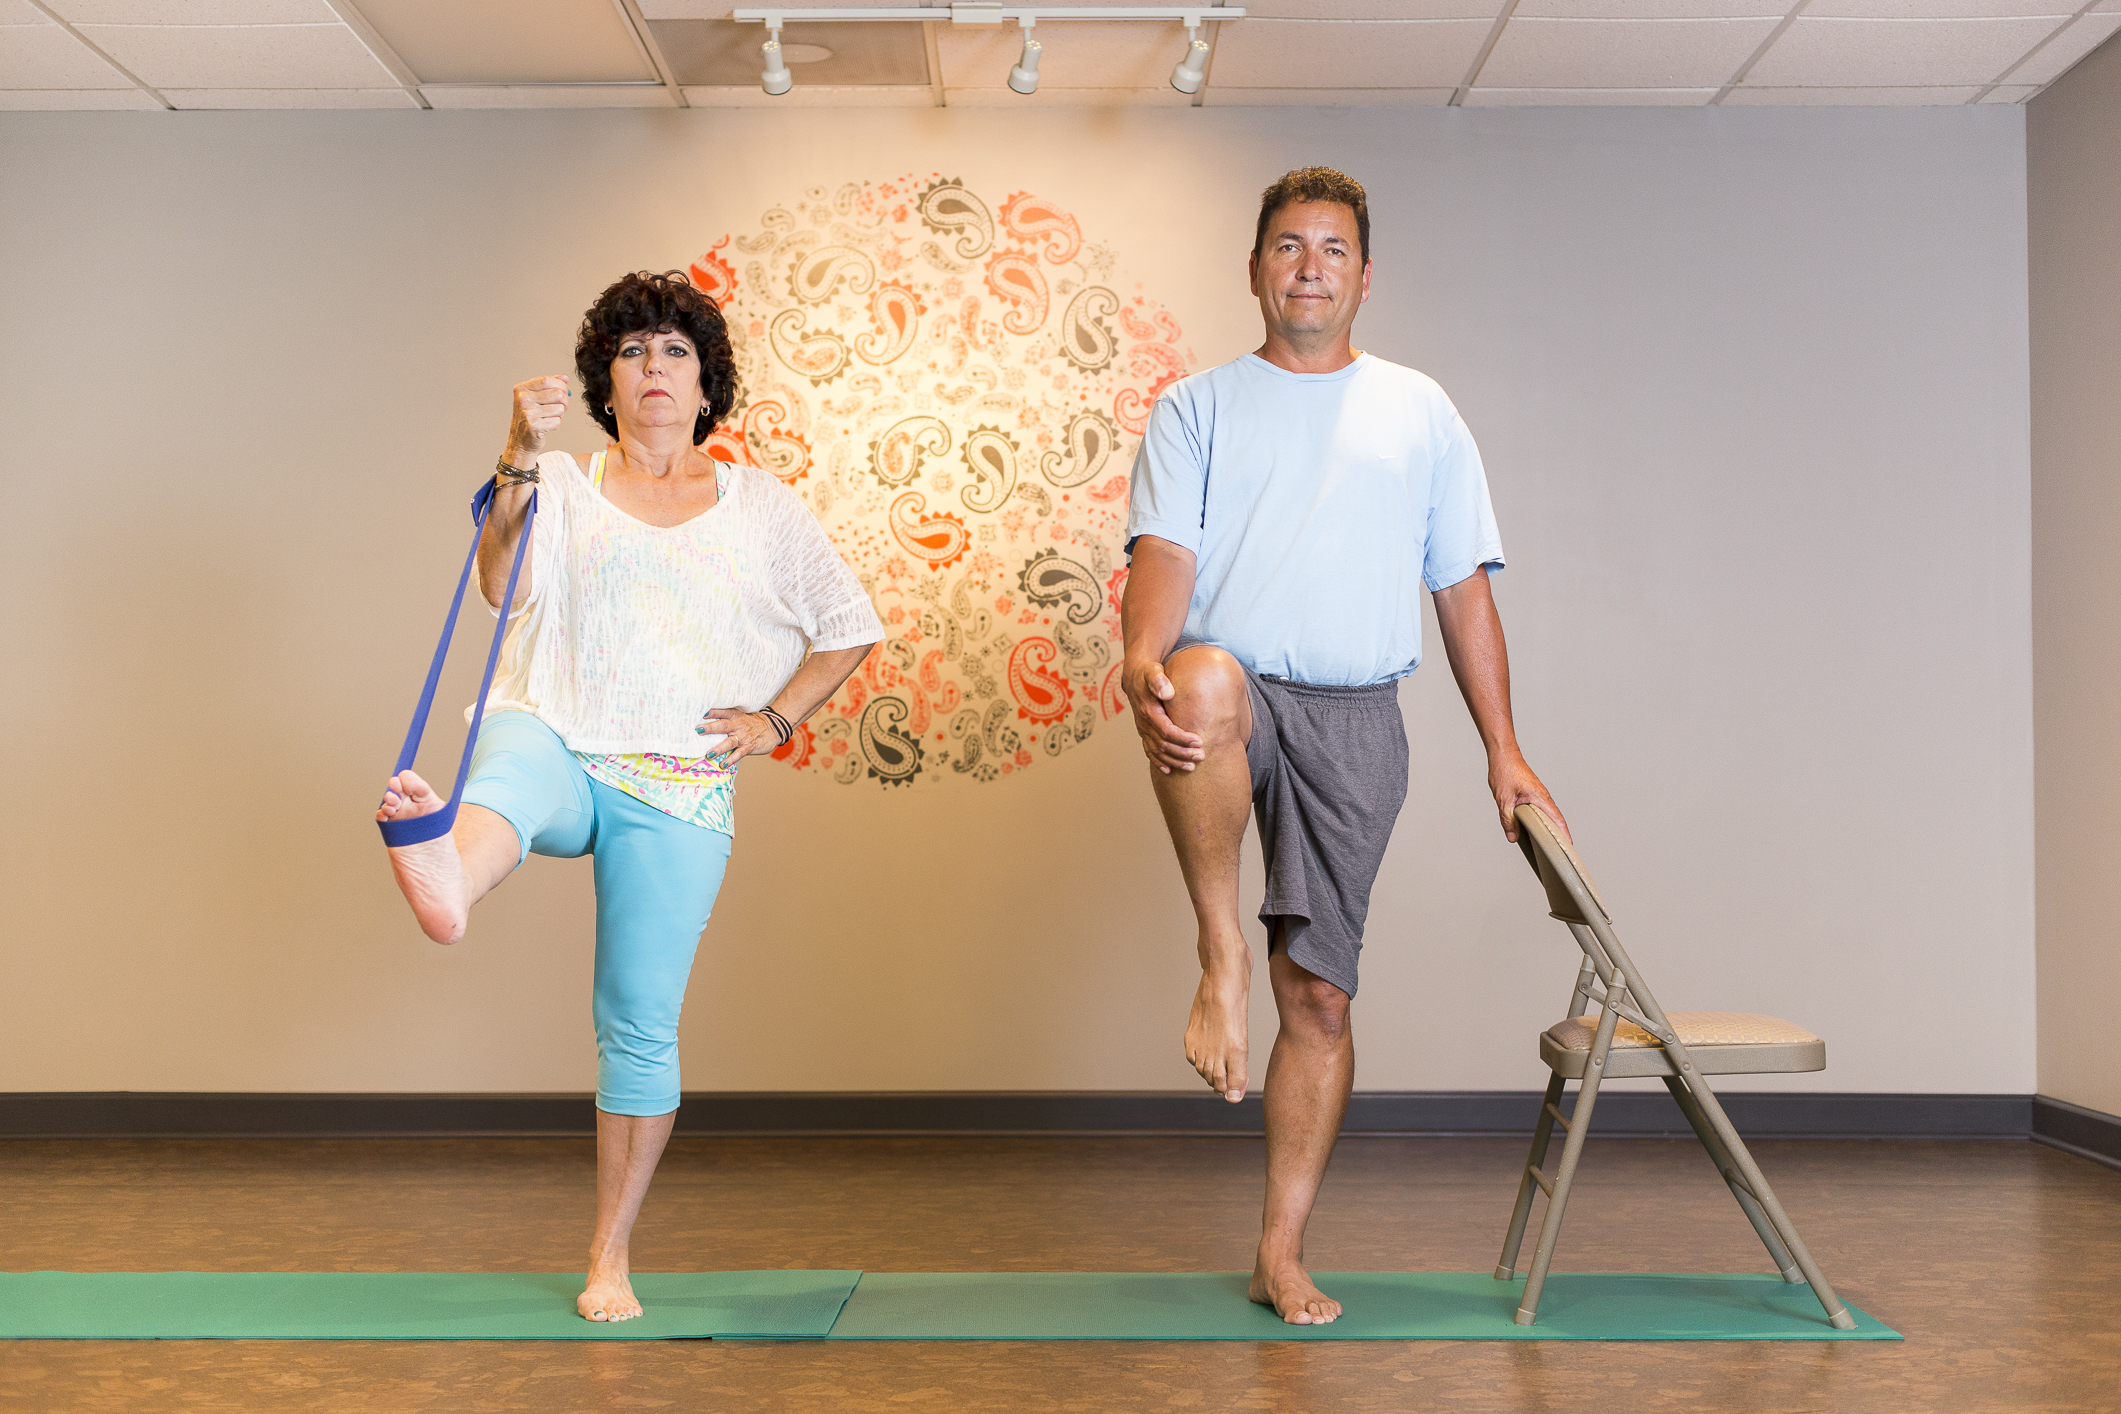
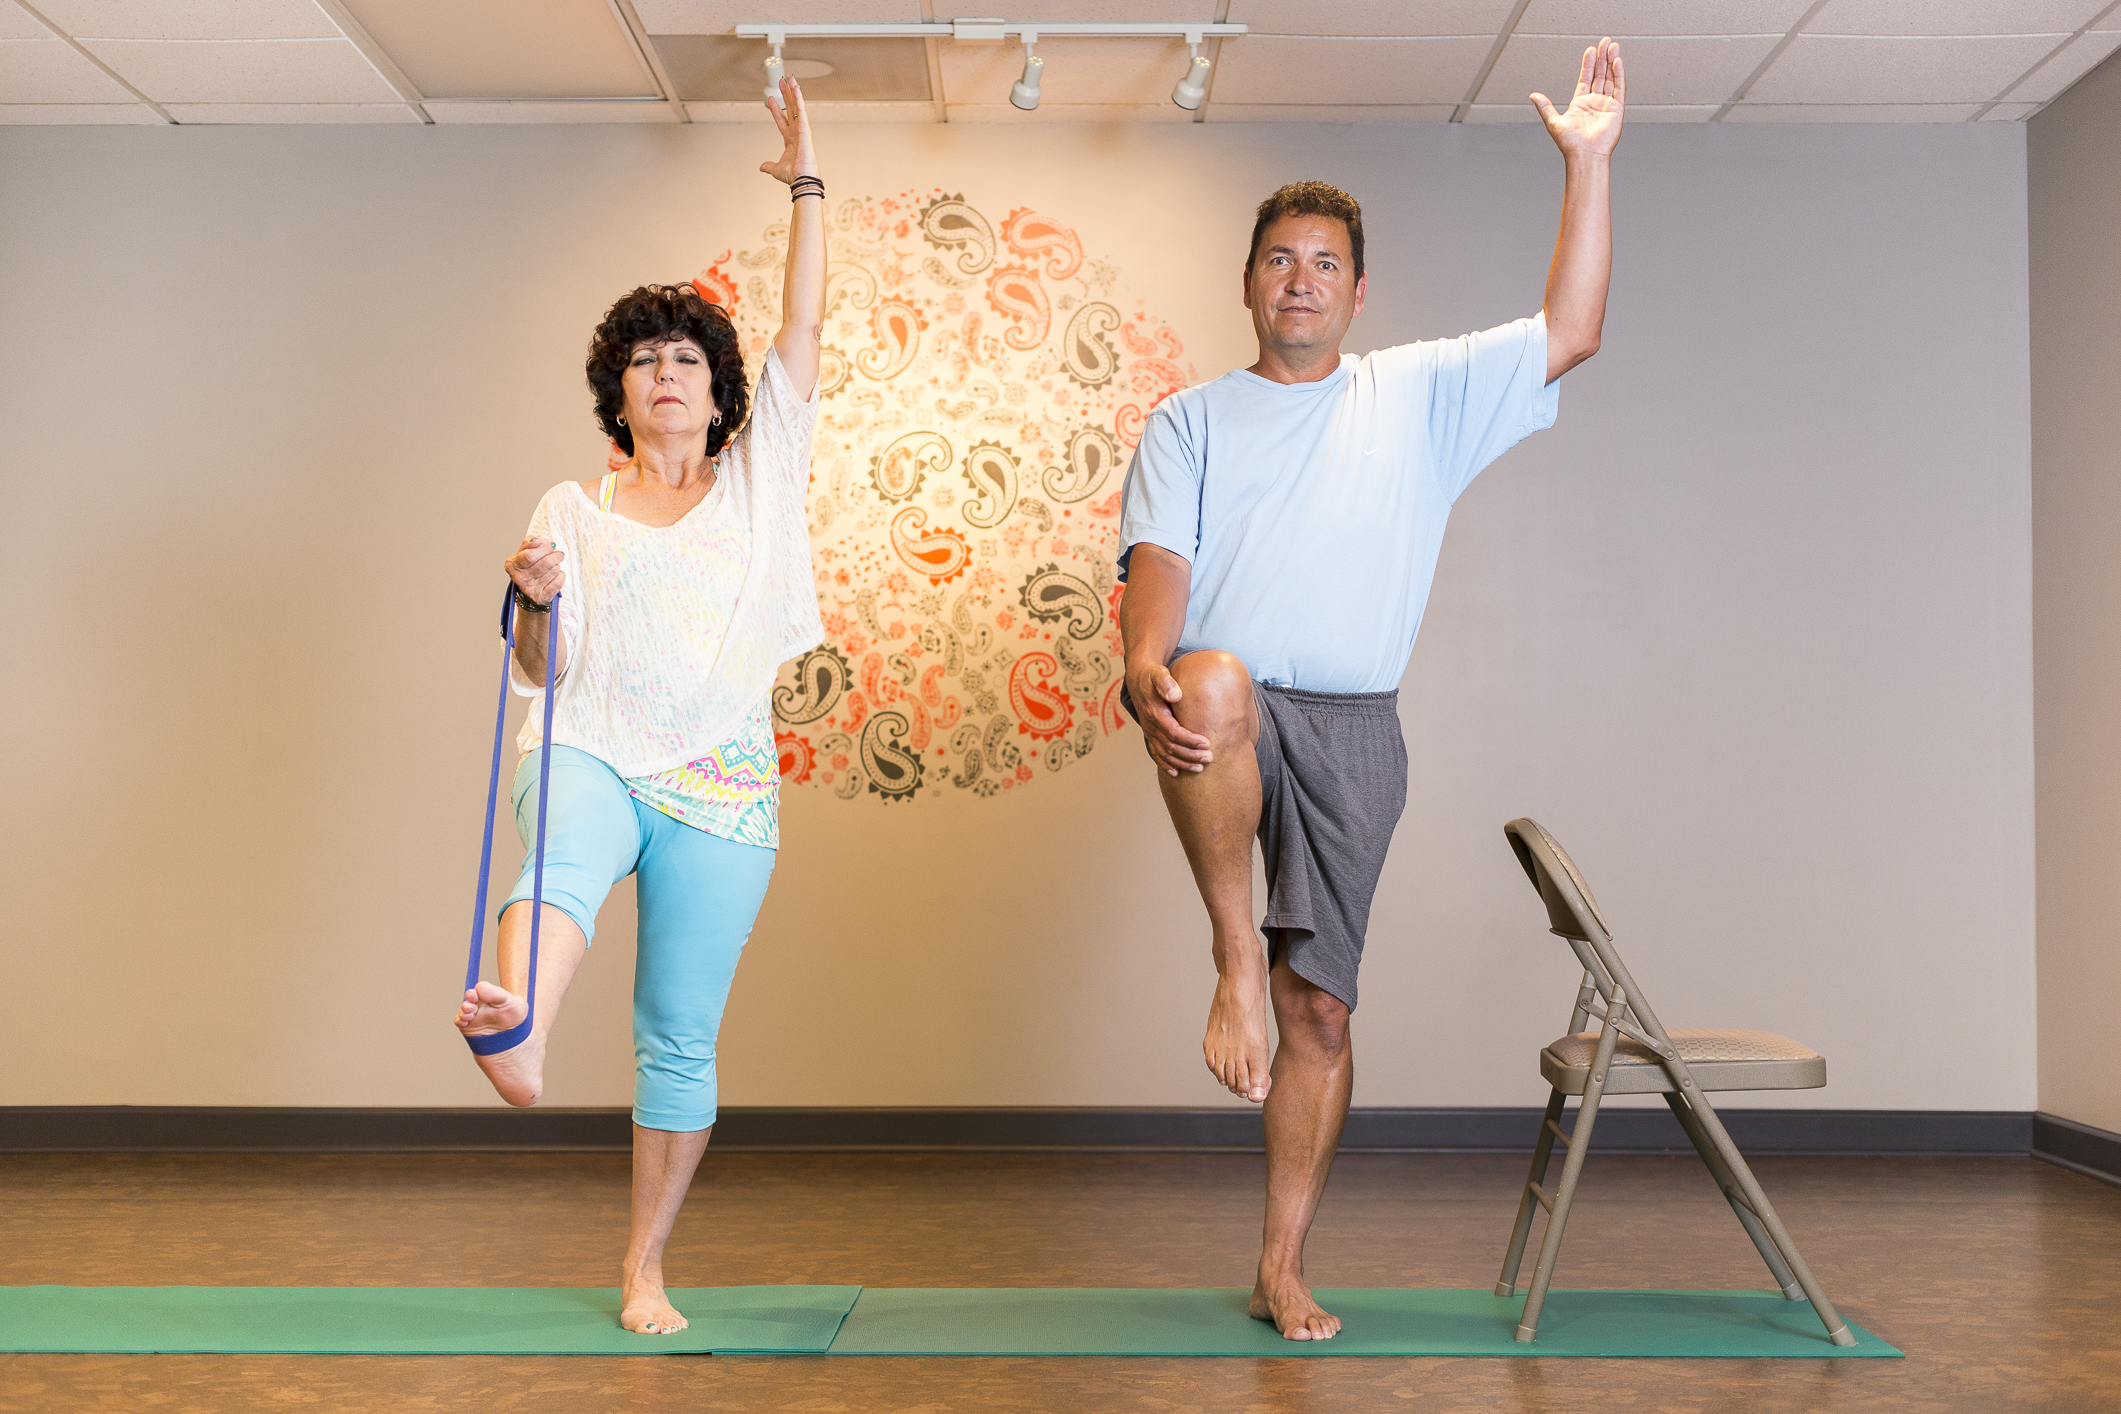
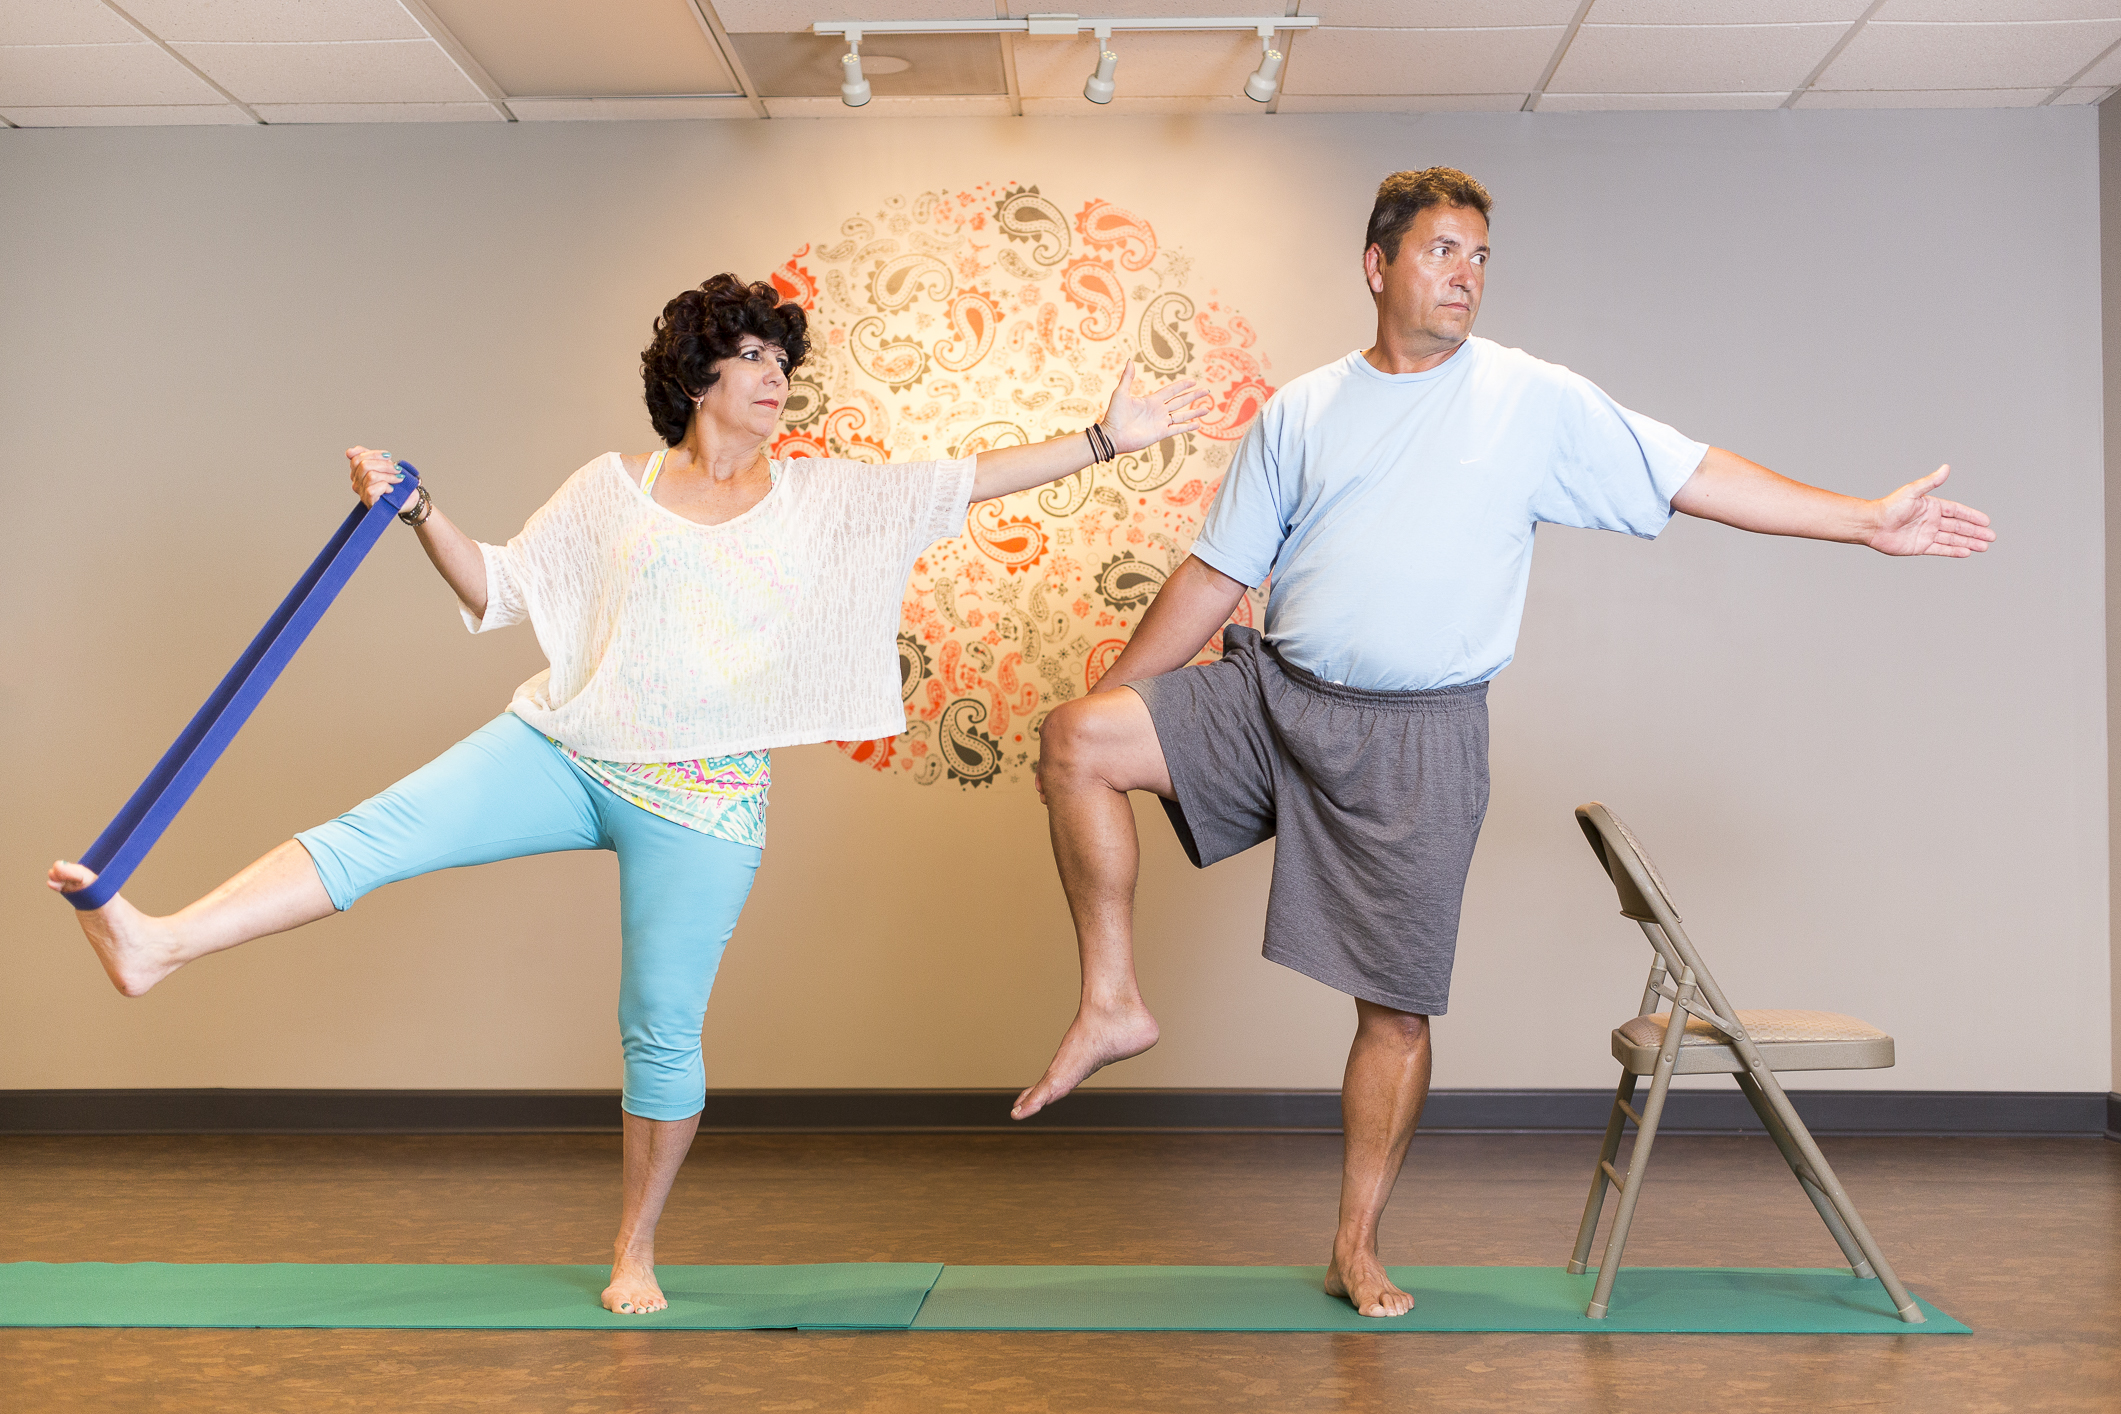
EXTENDED LEG BALANCE
Stand up straight and slowly shift your weight into one leg (using a chair or wall for support if necessary). When you feel comfortable, lift one leg and hold the outside of the knee. The other hand can be placed on the hip, or extended overhead. From this position, the leg can be brought out to one side, ensuring that the hip does not lift. It is also important to keep the other hip aligned with knee and ankle, without leaning to the outside of the supporting foot. If feeling stable, you can take the other arm out to the side and/or turn the head to look the other way.
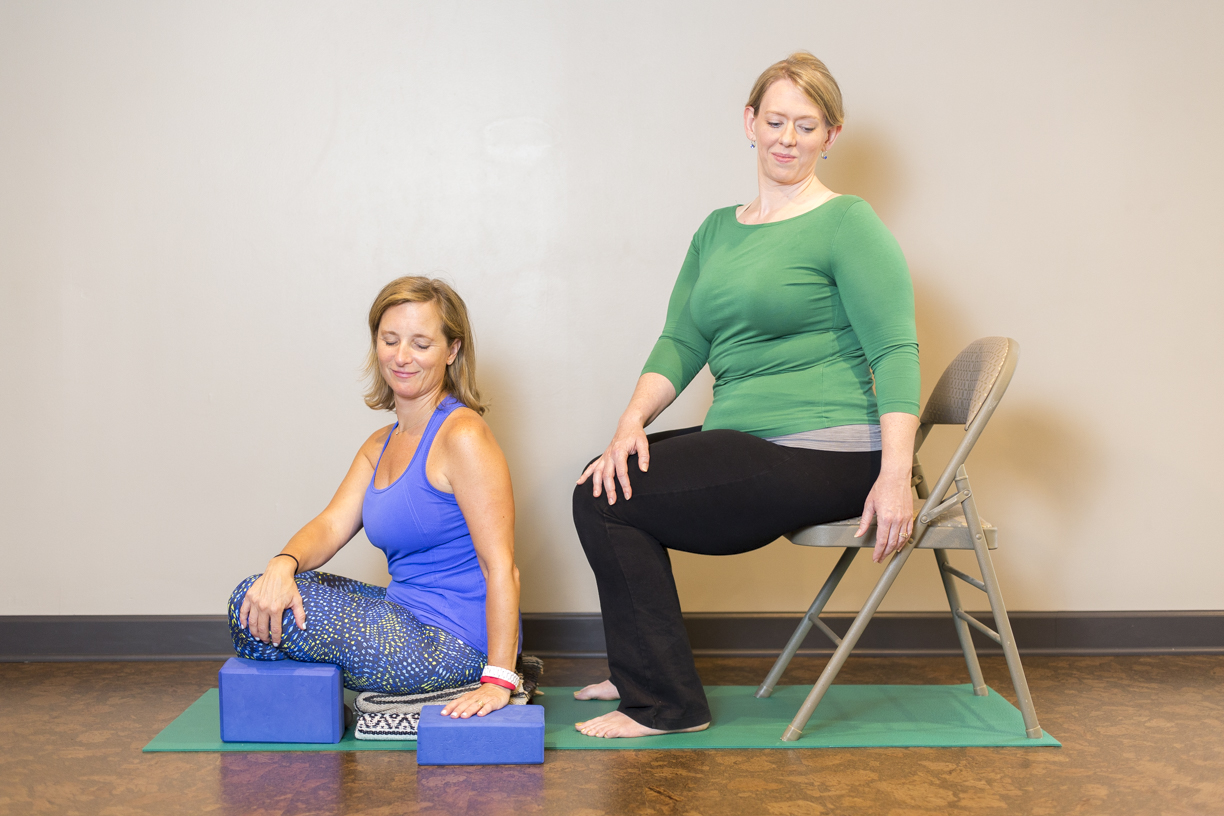
SEATED SPINAL TWIST
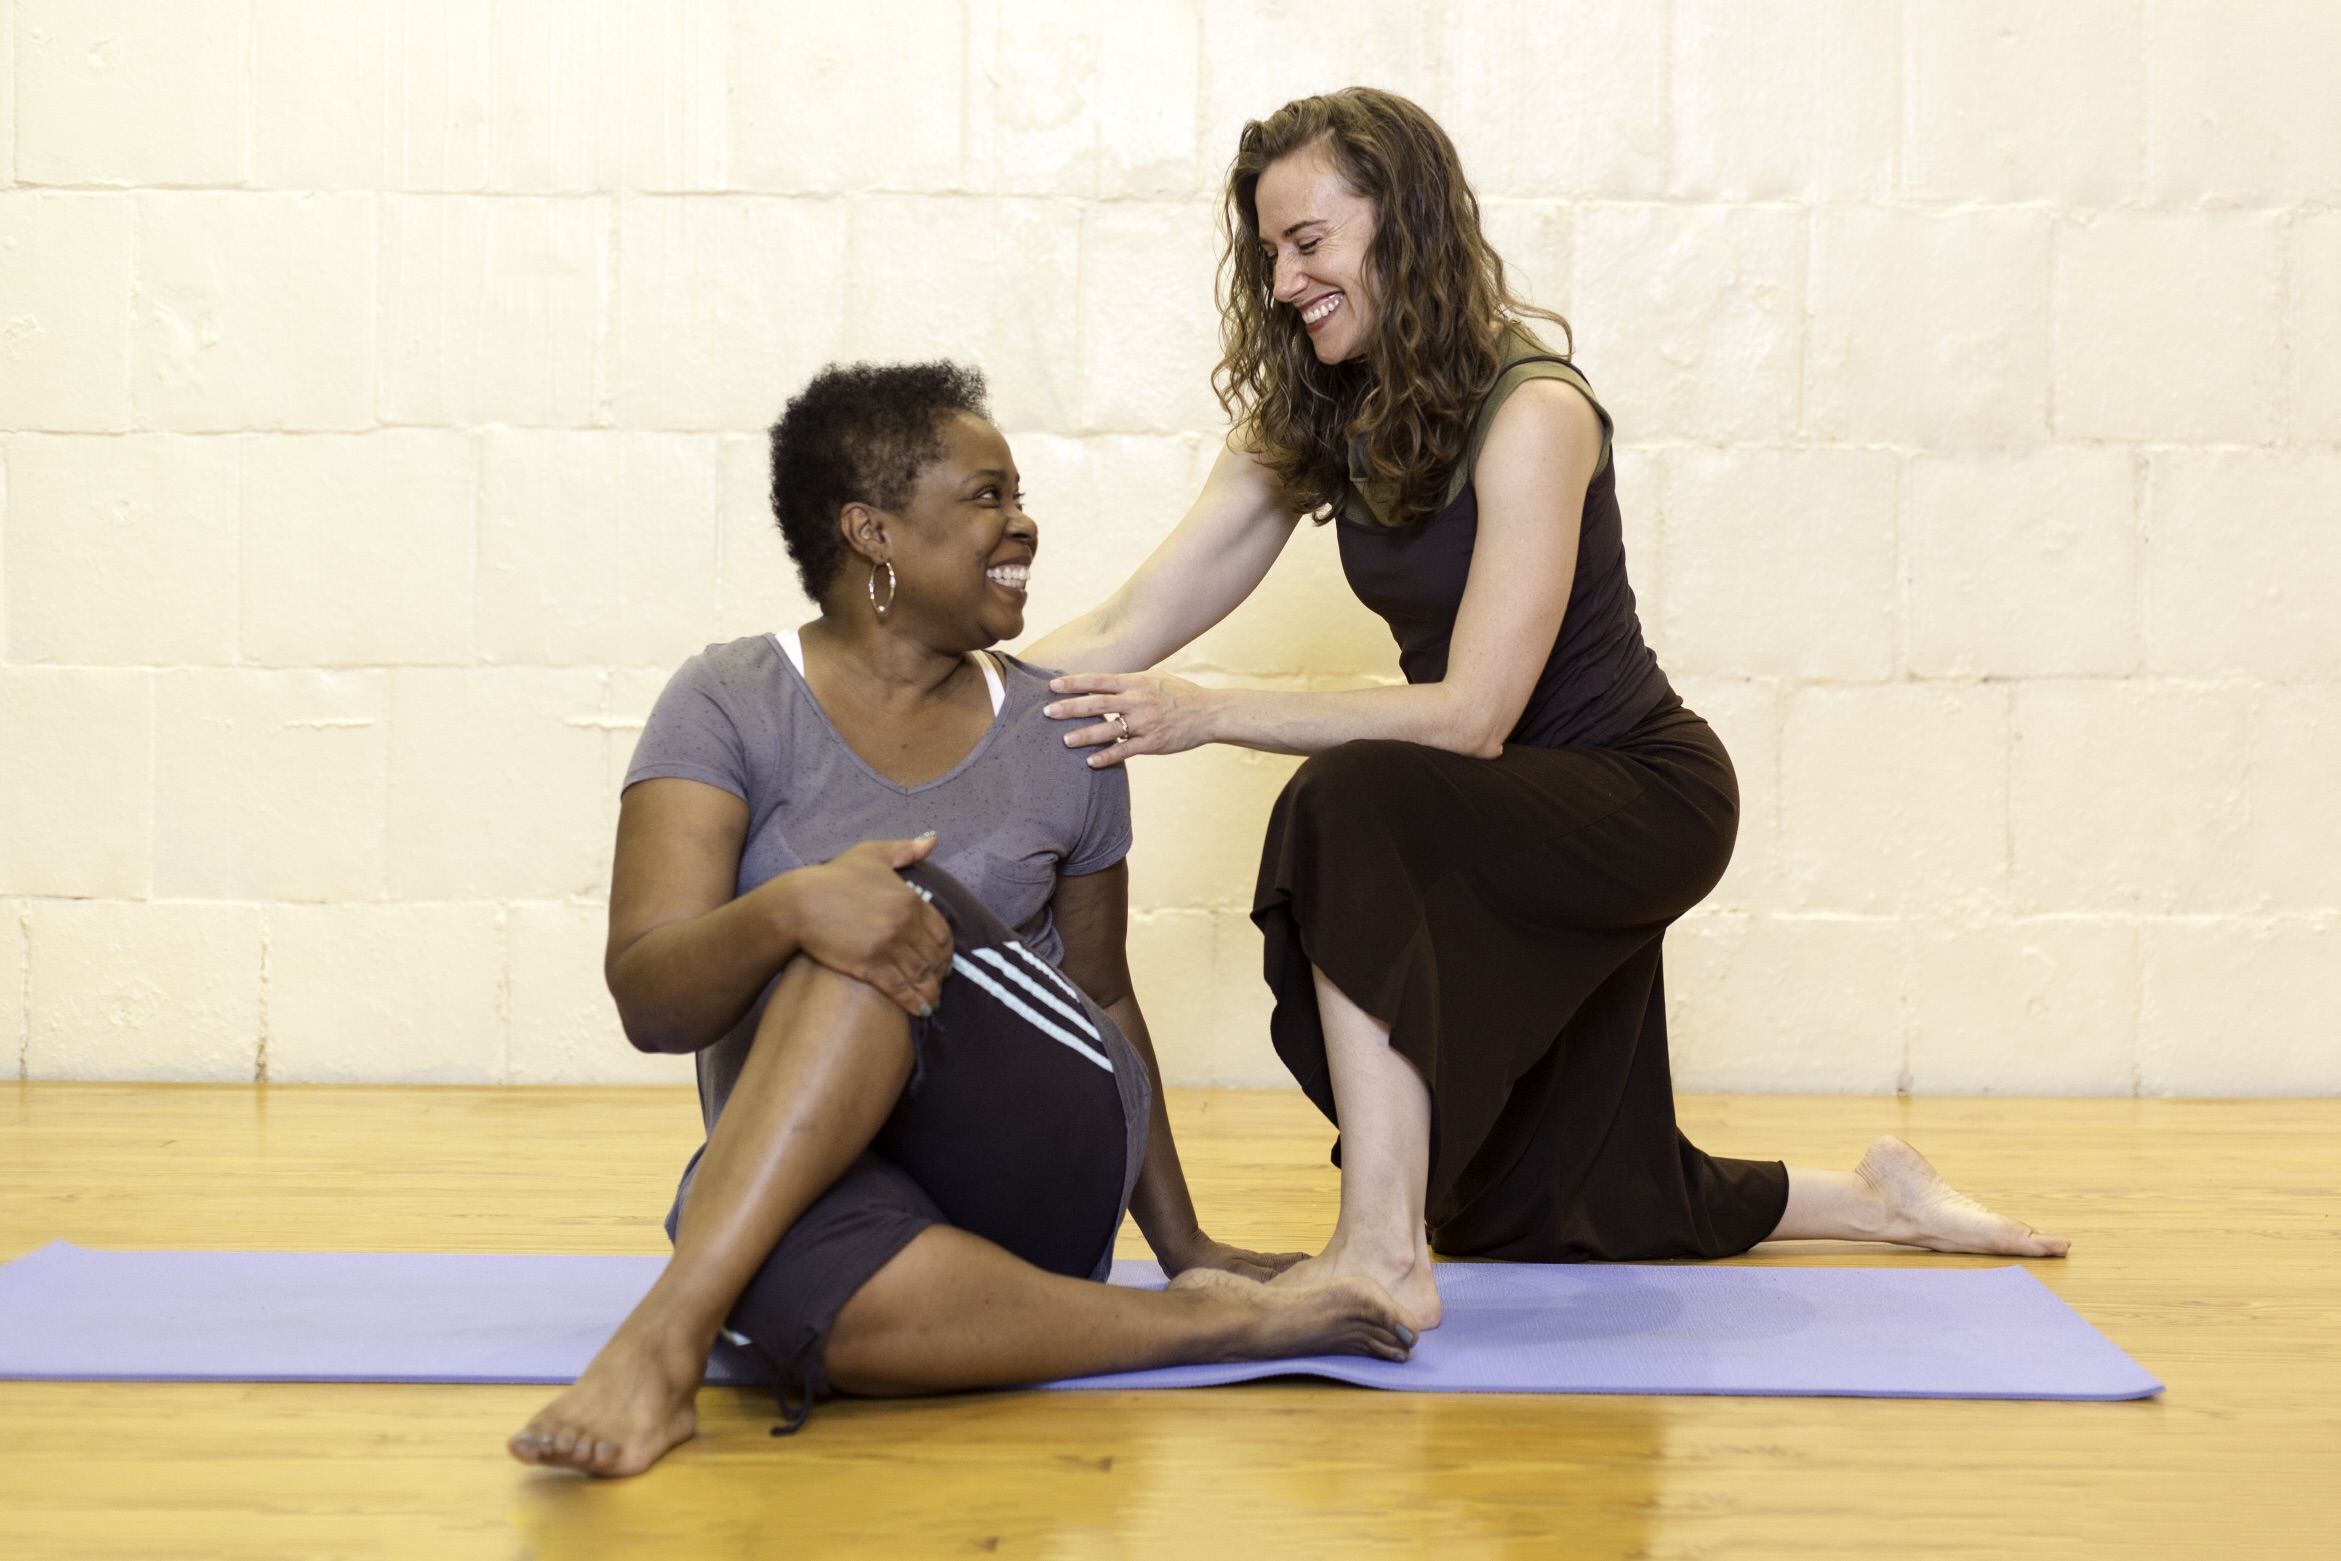
Start sitting with legs extended. You can sit up on a cushion or folded blanket if you feel any rounding in the lower back. Pull one knee in, lift the foot and cross it over to the outside of the extended leg. If possible, plant foot on the floor as if making a footprint on the floor. Foot is pulled in as close to the opposite hip as possible. Wrap the opposite arm around the bent knee, hugging it into the body. This can happen by wrapping the elbow around the knee, or just the hand. It is most important to sit up tall, lengthening the spine.
